Eastbourne 2007
Contents
In March 2007 we stayed at Glyndley Manor Cottages, Stone Cross, Near Eastbourne. We cycled throughout the area to see many of the local tourist attractions.
Here you can see Pevensey Castle.
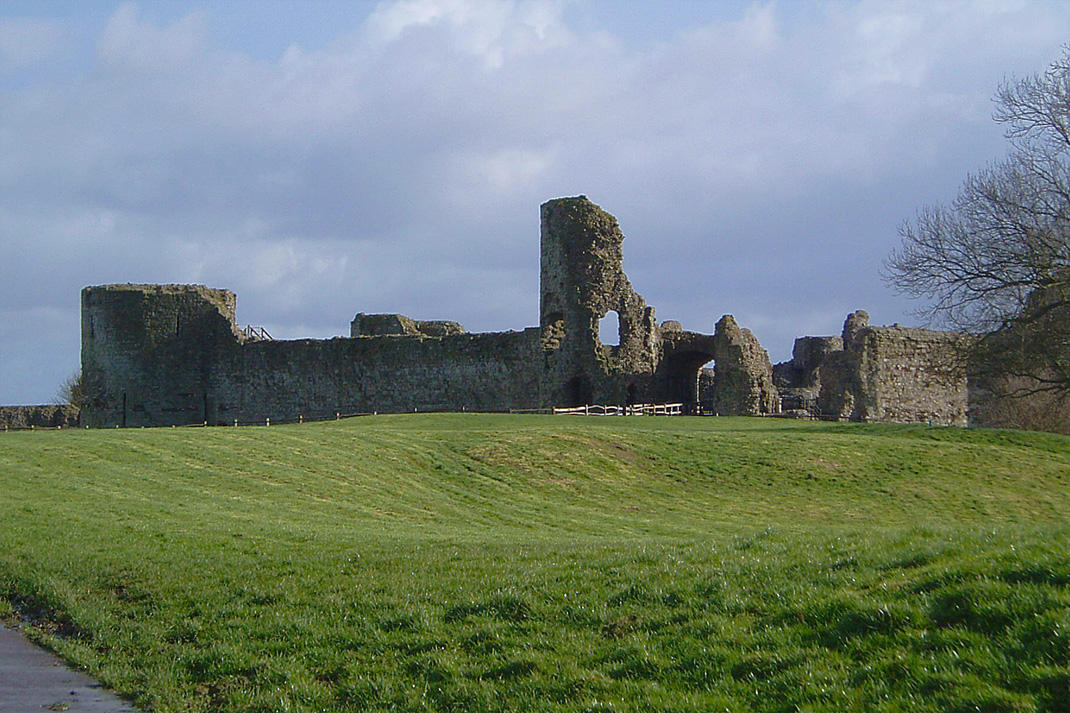
The ruins of the medieval castle at Pevensey stand in one corner of a Roman fort, on what was once a peninsula surrounded by the sea and salt marshes. The Roman fort, named Anderida, was built in about AD 290. It is one of the largest surviving examples in Britain, with two thirds of its walls and towers still standing to almost their original height. Unlike most Roman forts that were built to a standard rectangular plan, Anderida has an irregular oval layout that follows the shape of the peninsular.
In September 1066, William, Duke of Normandy, landed his invading army at Pevensey and immediately set up a defensive camp within the walls of the old Roman fort, before marching on to Hastings. Following his victory, William gave Pevensey to his half-brother, Robert, Count of Mortain.
The castle developed gradually over the centuries with phases of building interspersed by periods of decline, including the slighting of the castle by King John in 1216. The castle was rebuilt and remained occupied into the 15th century, by which time it served as a state prison. The castle's strategic location as a possible landing point for foreign invaders gave it an importance that led to several sieges over the course of its history, and even after it had fallen into ruin it was put to use for the defence of the country. A gun emplacement was built at the time of the Spanish Armada, and during the Second World War machine-gun posts and billets for troops were created within the remains of the castle. The pillboxes can still be seen at the castle, camouflaged to look like the rest of the building.
Having visited Pevensey Castle, we rode on through Bexhill-on-Sea and into Hastings.
We made our way to the Old Town. Here, on the beach, are the so-called "Net Shops".
These are wooden constructions, weatherboarded and tarred, of various shapes and sizes, used for storage. The buildings were built tall and narrow to avoid payment of ground tax. The huts were never used for net drying; this is a popular misconception: nets were dried on the beach or on the piece of land known as the Minnis. Some, such as the one you can see in the photograph, were simply made out of up-turned boats.
In the middle ages Hastings became one of the Cinque Ports; Sandwich, Dover, and New Romney being the first, Hastings, and Hythe followed, all finally being joined by Rye and Pevensey, at one point 42 towns were directly or indirectly affiliated to the group.
In the 13th century much of the town was washed away by the sea. In 1339 and 1377 the town was raided and burnt by the French, and seems then to have gone into a decline. As a port, Hastings suffered over the years from the lack of a natural harbour. There were many attempts to create a sheltered harbour, and in 1897 the foundation stone was laid of a large concrete structure; however there was insufficient money to complete the work, and the "Harbour arm" remains uncompleted. It was partially blown up to discourage possible use by German invasion forces during World War II. The fishing boats are still stored on and launched from the beach.
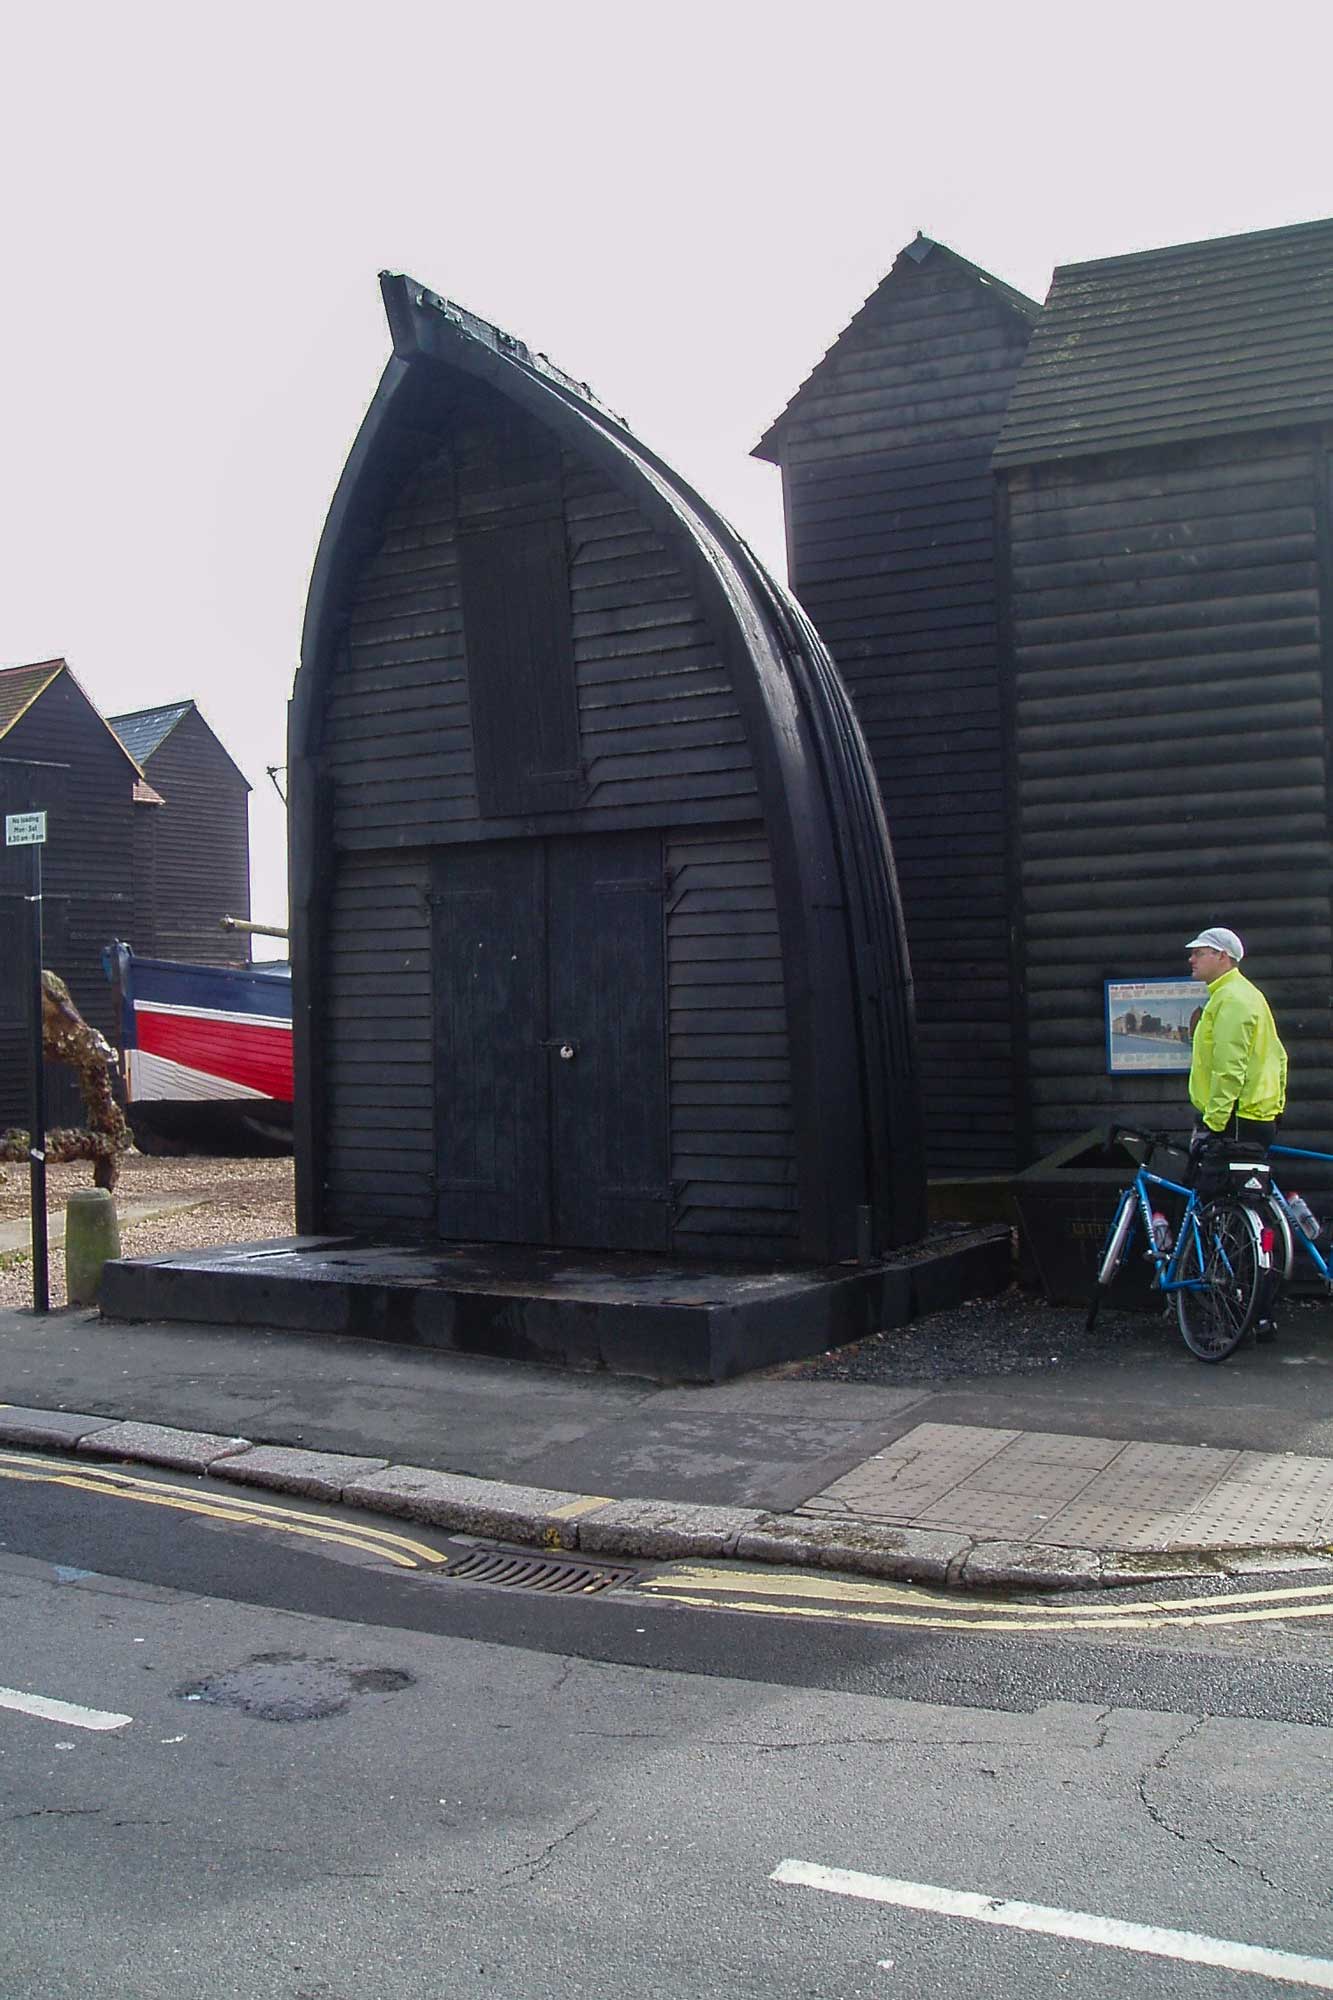
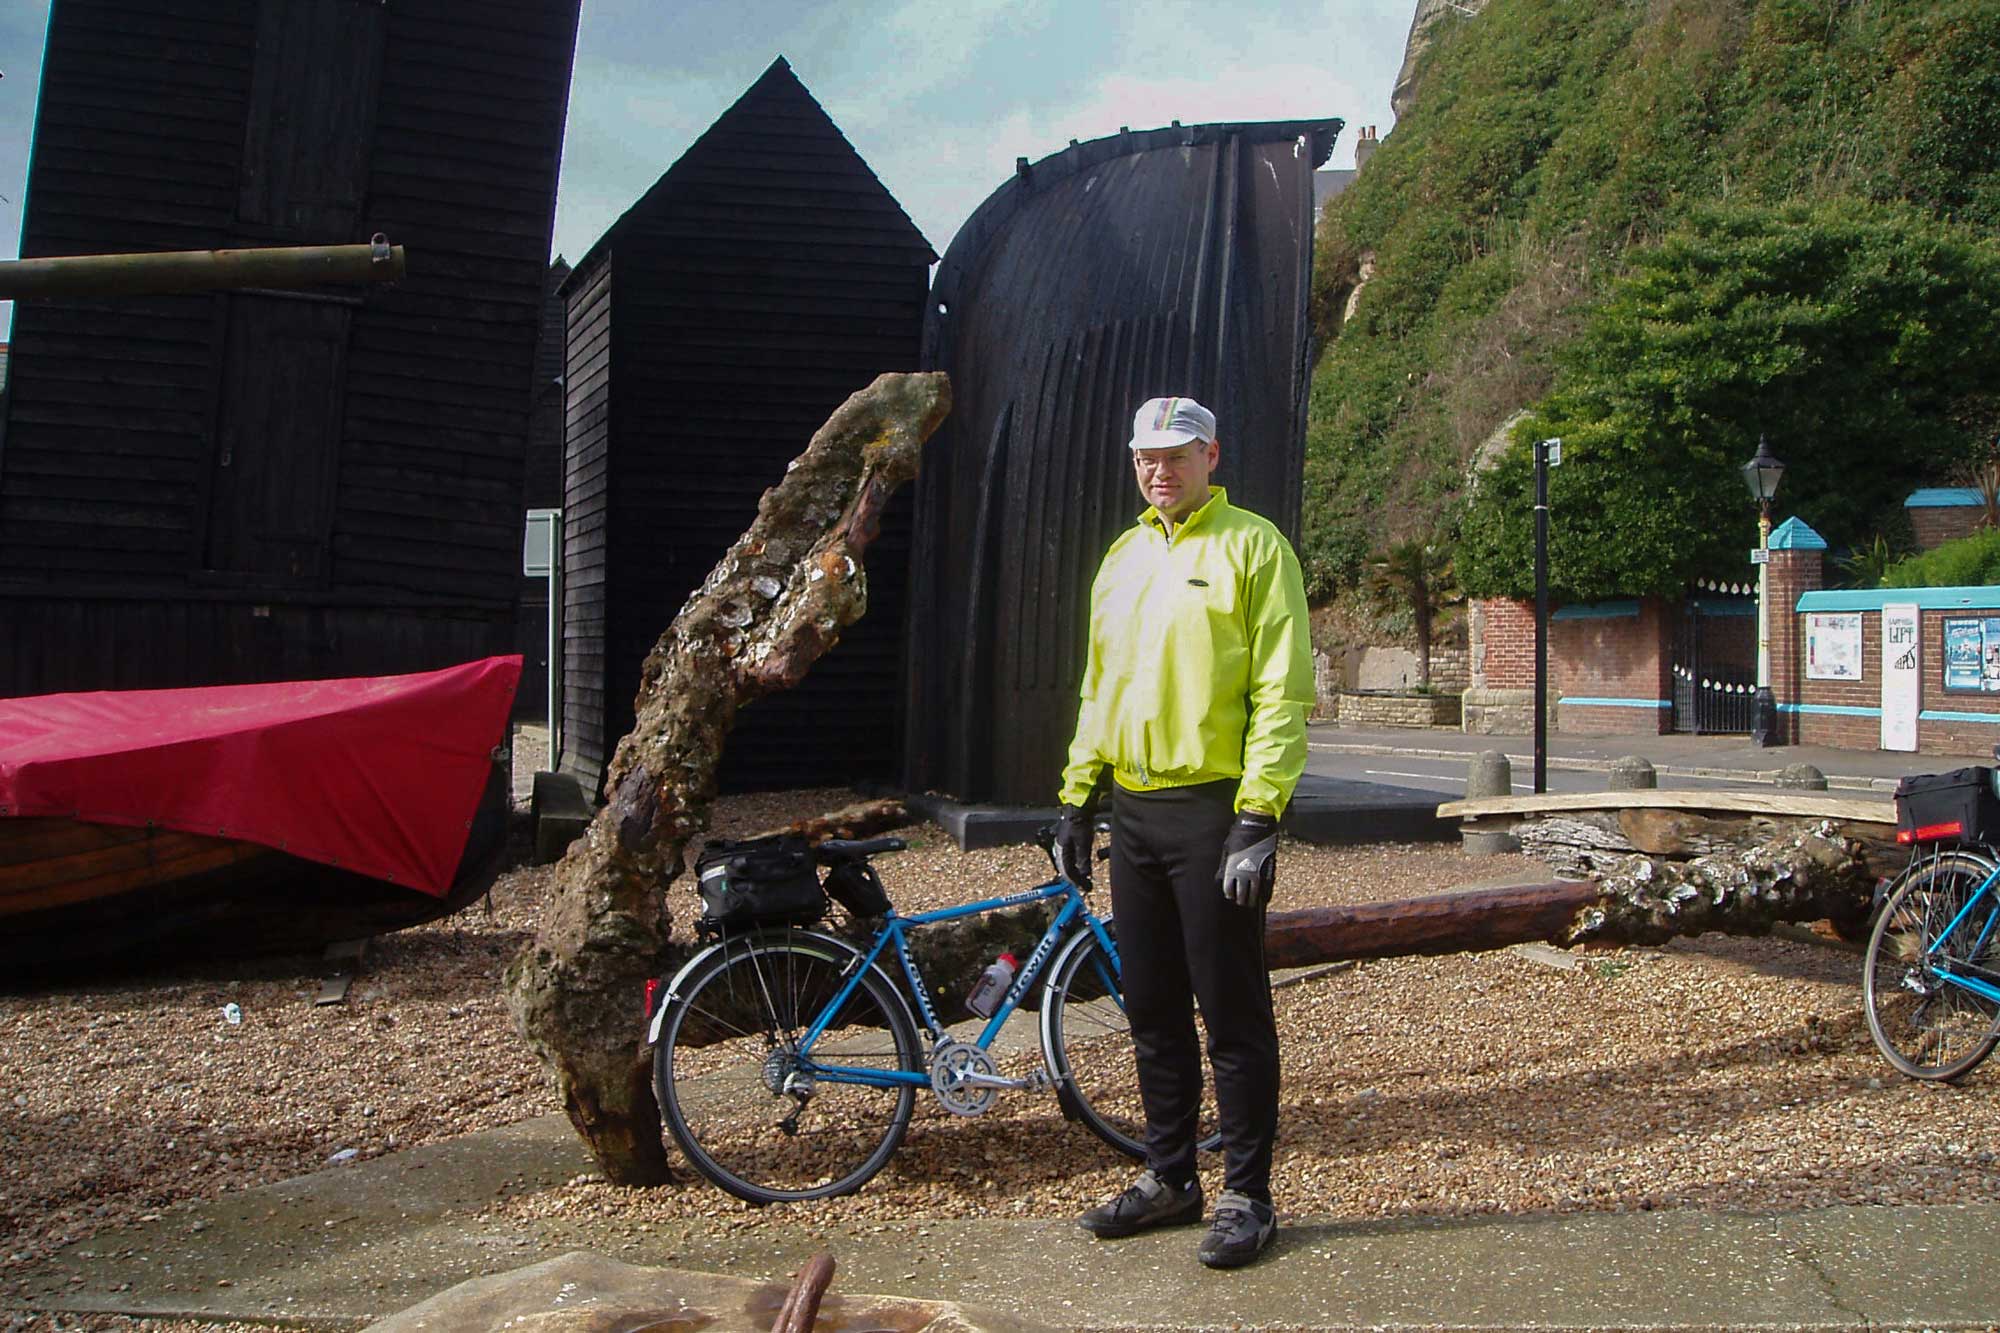
The anchor which you can see in this photo is thought to have been salvaged from a French ship that sank near the coast during the Napoleonic Wars of the early 19th Century.
Our next trip took us to Portsmouth where we were able to see HMS Warrior, HMS Victory and the Mary Rose.
HMS Warrior was the world's first ocean-going iron-hulled armoured battleship, built for the Royal Navy as a counter to the first ironclad warship, the French battleship La Gloire (launched 1859). When she was launched, the 4.5 inch thick wrought iron armoured belt made her impervious to all naval cannon in service at that time, and she was easily the most powerful warship in the world. The only significant vulnerability was the lack of armour around the rudder.
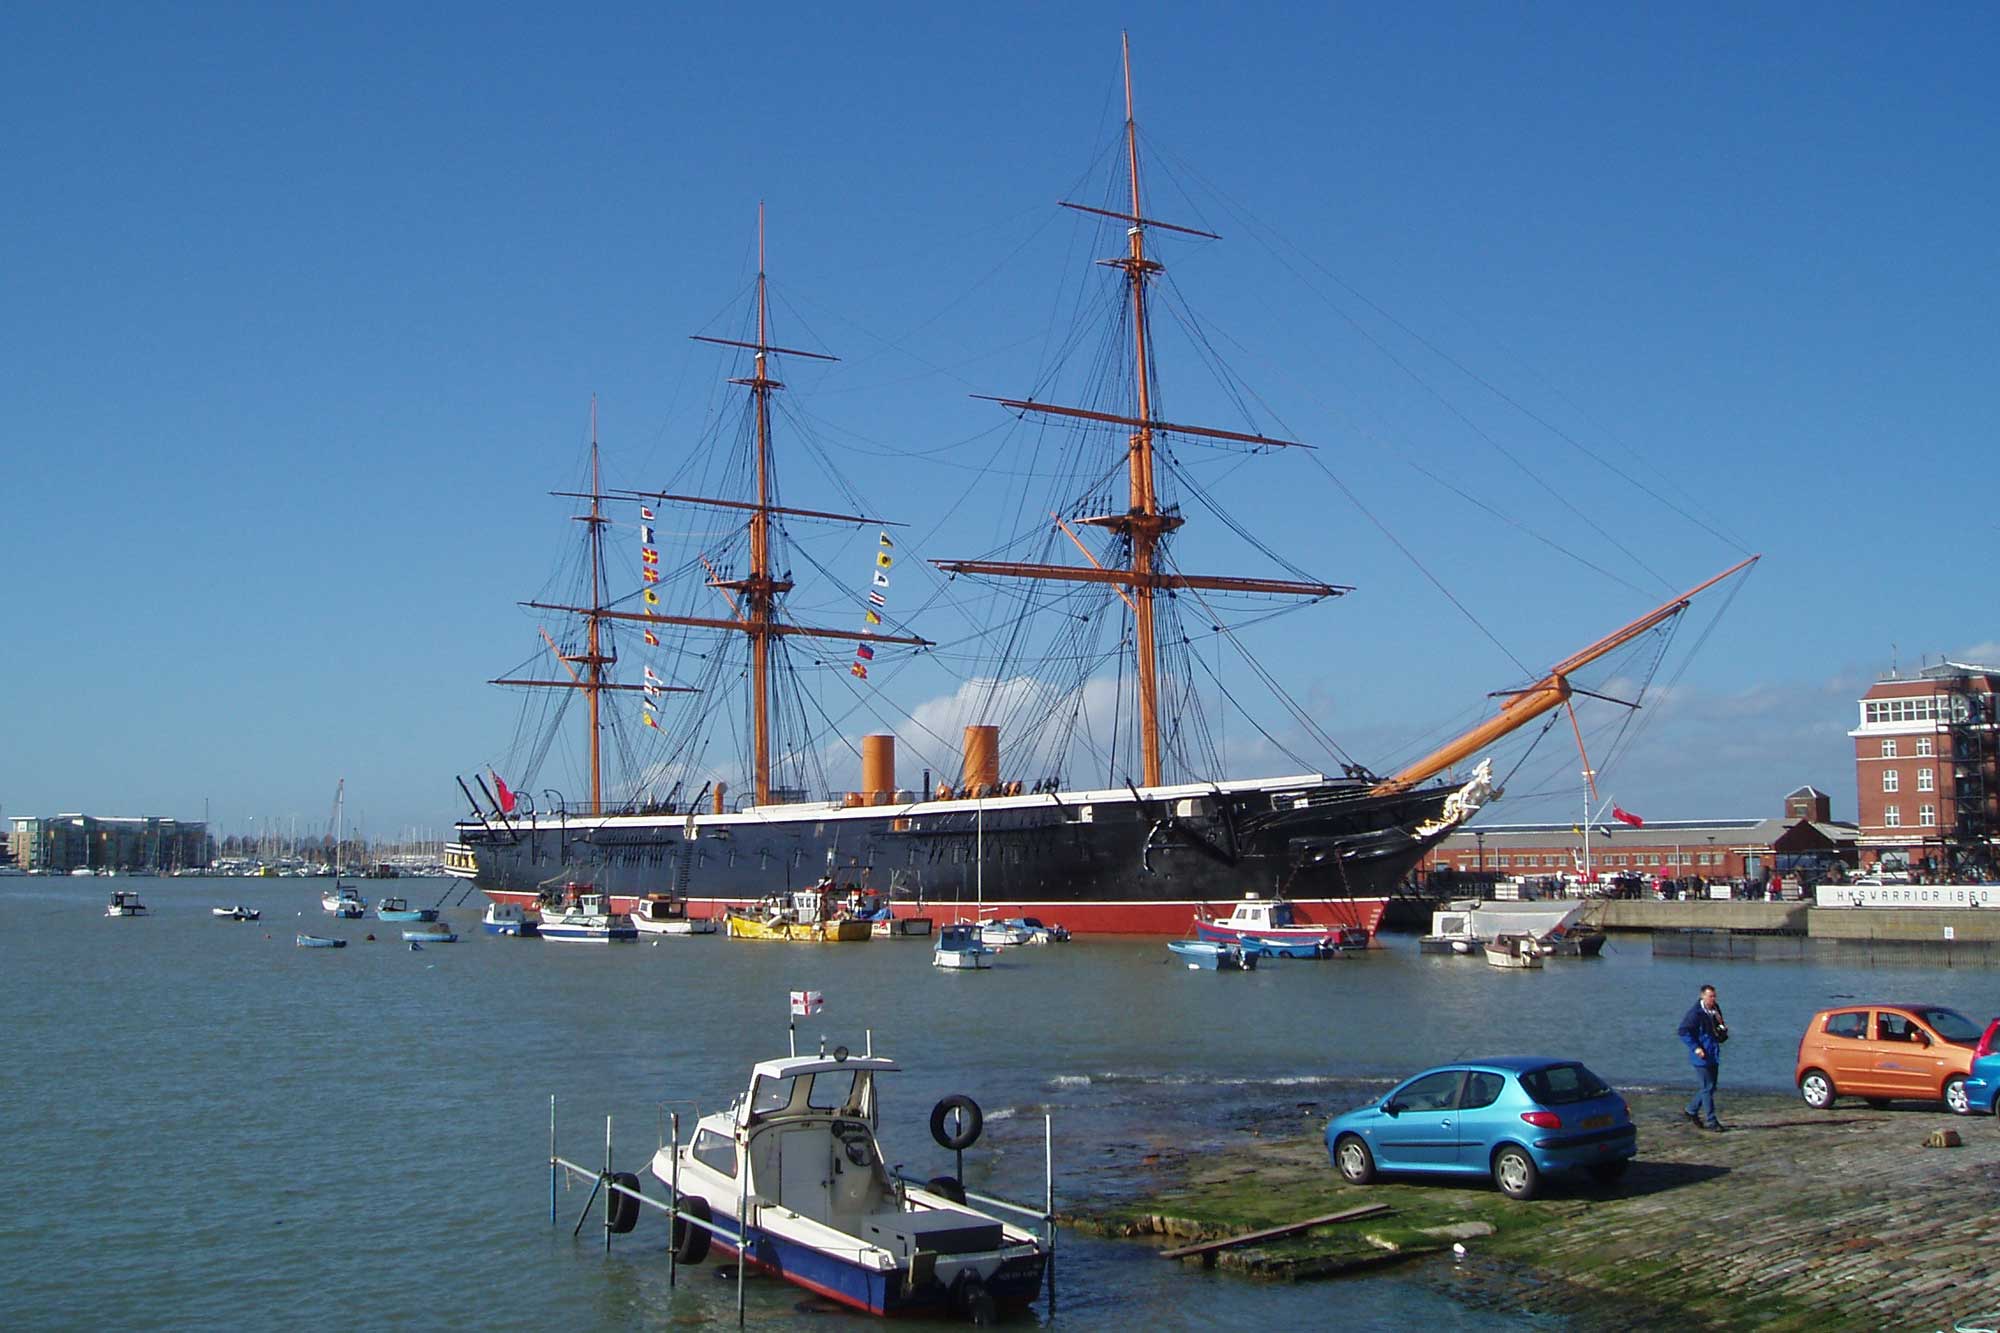
She was propelled by both sails and steam — her coal capacity of 853 tons was insufficient alone for extended cruising. The screw could be winched up clear of the water to reduce drag, although in practice the screw was run at low speed when cruising under sail, this having the same drag-reducing effect. Because of the Warrior's single gun deck, she was classified as a frigate by the RN, in spite of having greater combat potential than existing ships-of-the-line.
She froze to the slipway when she was launched on December 29, 1860 at the Thames Ironworks at Blackwall, London during the coldest winter for 50 years, and six tugs were required to haul her into the river. She was completed on 24 October 1861 at a cost of £357,291.
The rapid march of naval technology meant that she and her sister Black Prince became obsolete within ten years. On 1 April 1875 she was relegated to the Reserve Fleet ranks and on 31 May 1883, withdrawn from sea service.
Warrior was saved from being scrapped by the efforts of the Maritime Trust. As the world's first successful iron-hulled battleship, she was recognised as one of the Royal Navy's most historically important warships. In 1968 the Duke of Edinburgh chaired a meeting regarding the possibility of rescuing and restoring Warrior, and a year later the Maritime Trust was established with a view towards saving the decrepit ironclad as well as other historic ships. Throughout the 1970s the Maritime Trust carried out negotiations and feasibility studies regarding Warrior, and finally obtained control of the ship in August 1979.
Restoration of Warrior for use as a museum ship began in August 1979, when she began her 800 mile journey to her temporary home at Gray's Shipyard in Hartlepool, where the £8 million restoration project would be carried out. Warrior arrived in Hartlepool on September 3, 1979. Restoration work started with the removal of a thick concrete layer poured into her hull as part of the conversion to an oil jetty, and of 80 tons of rubbish from the hull. Over the next eight years, Warrior's decks, interior compartments, engines, woodwork and fittings were restored or recreated, her masts and funnels were rebuilt, and her original figurehead was rescued and fitted. She arrived, fully restored, at her current berth in Portsmouth on June 16, 1987.
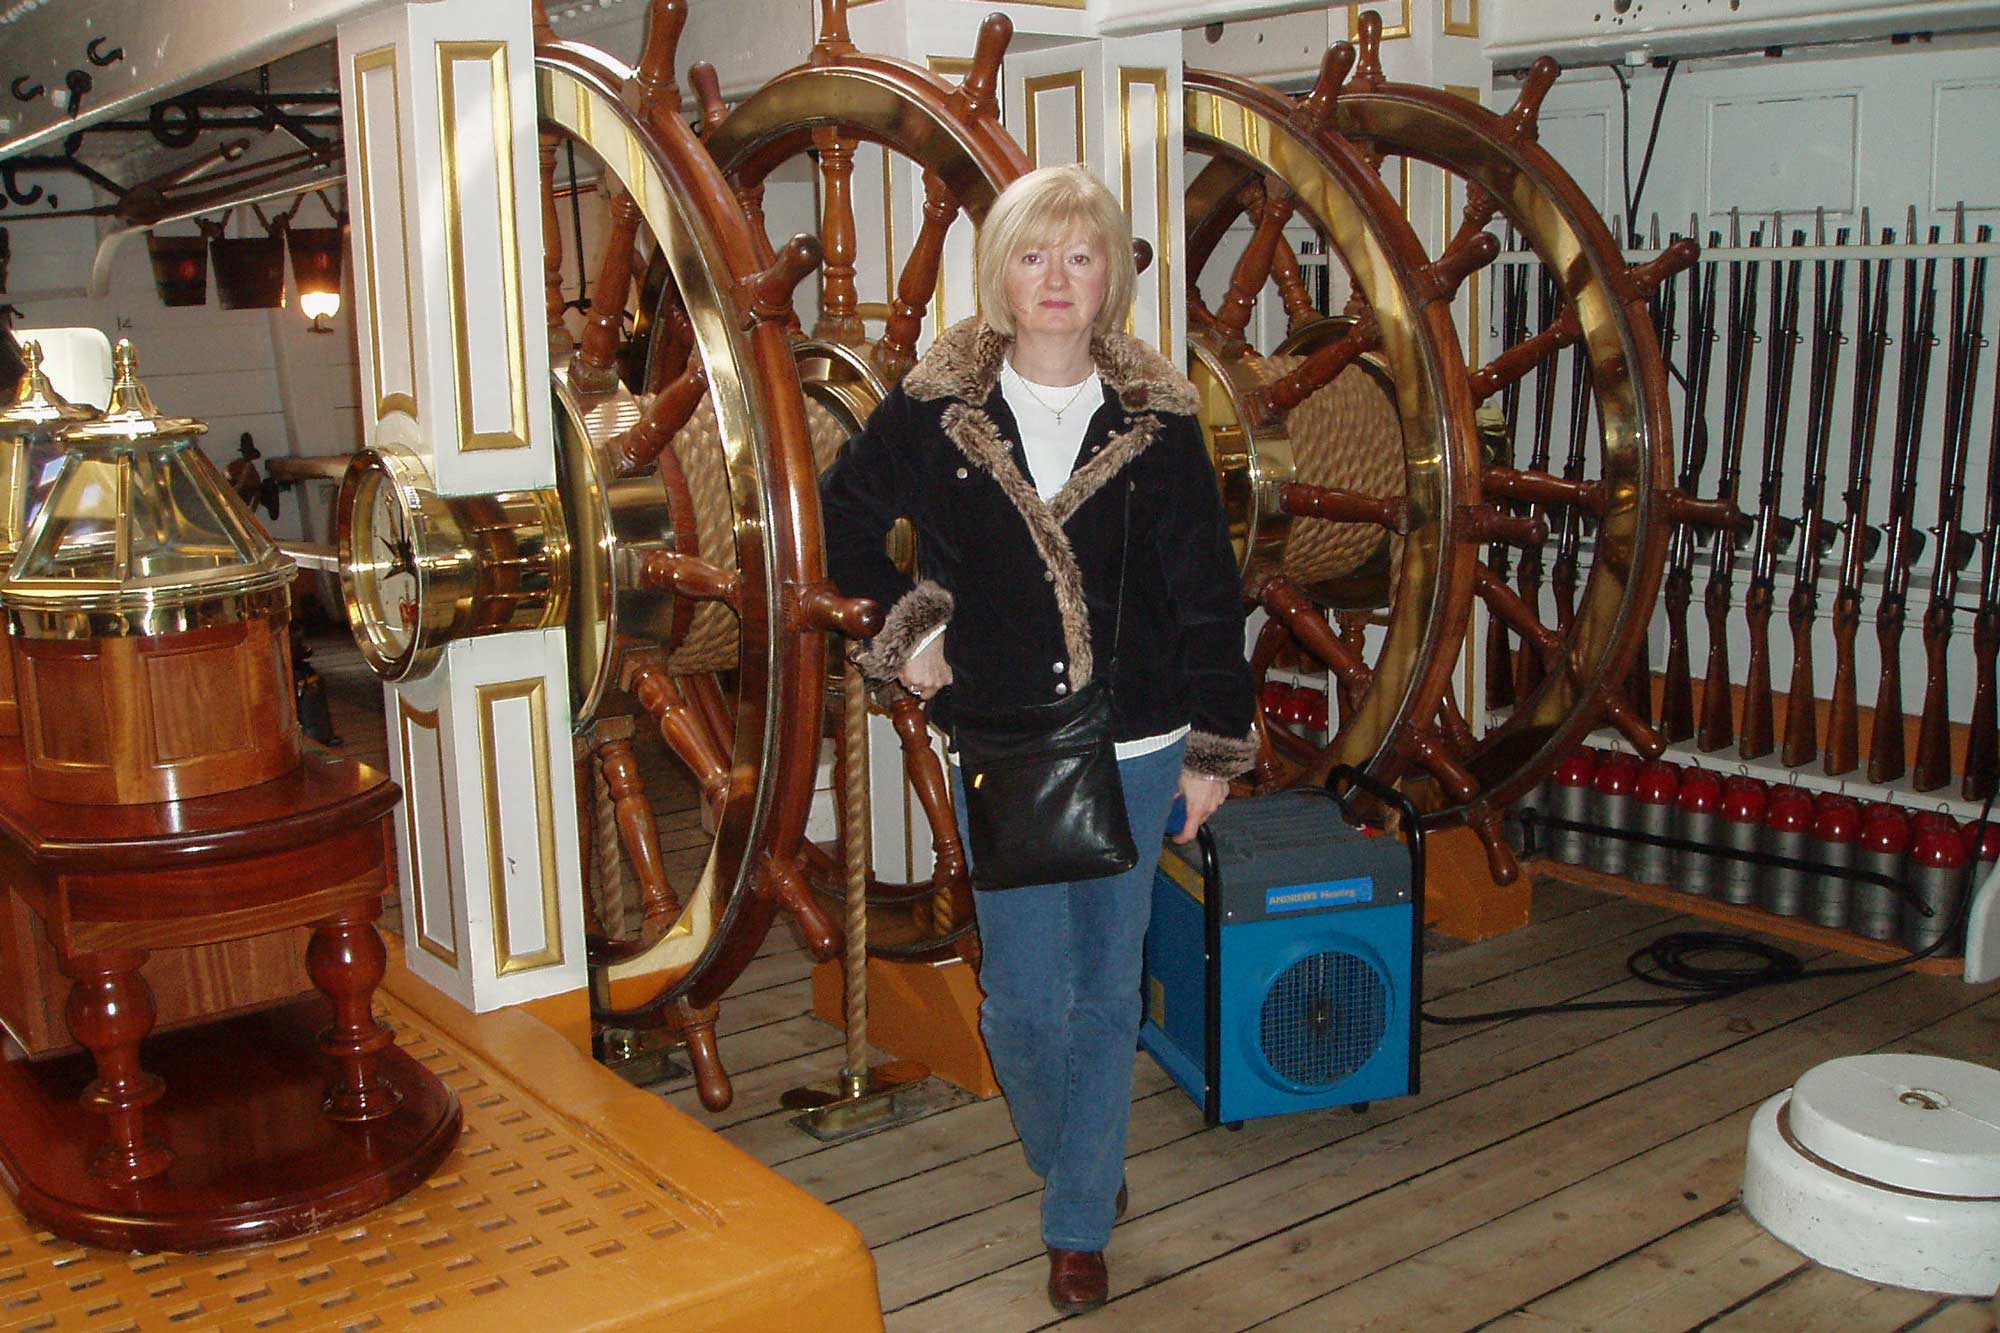
Here is Pat by the Wheel of HMS Warrior.
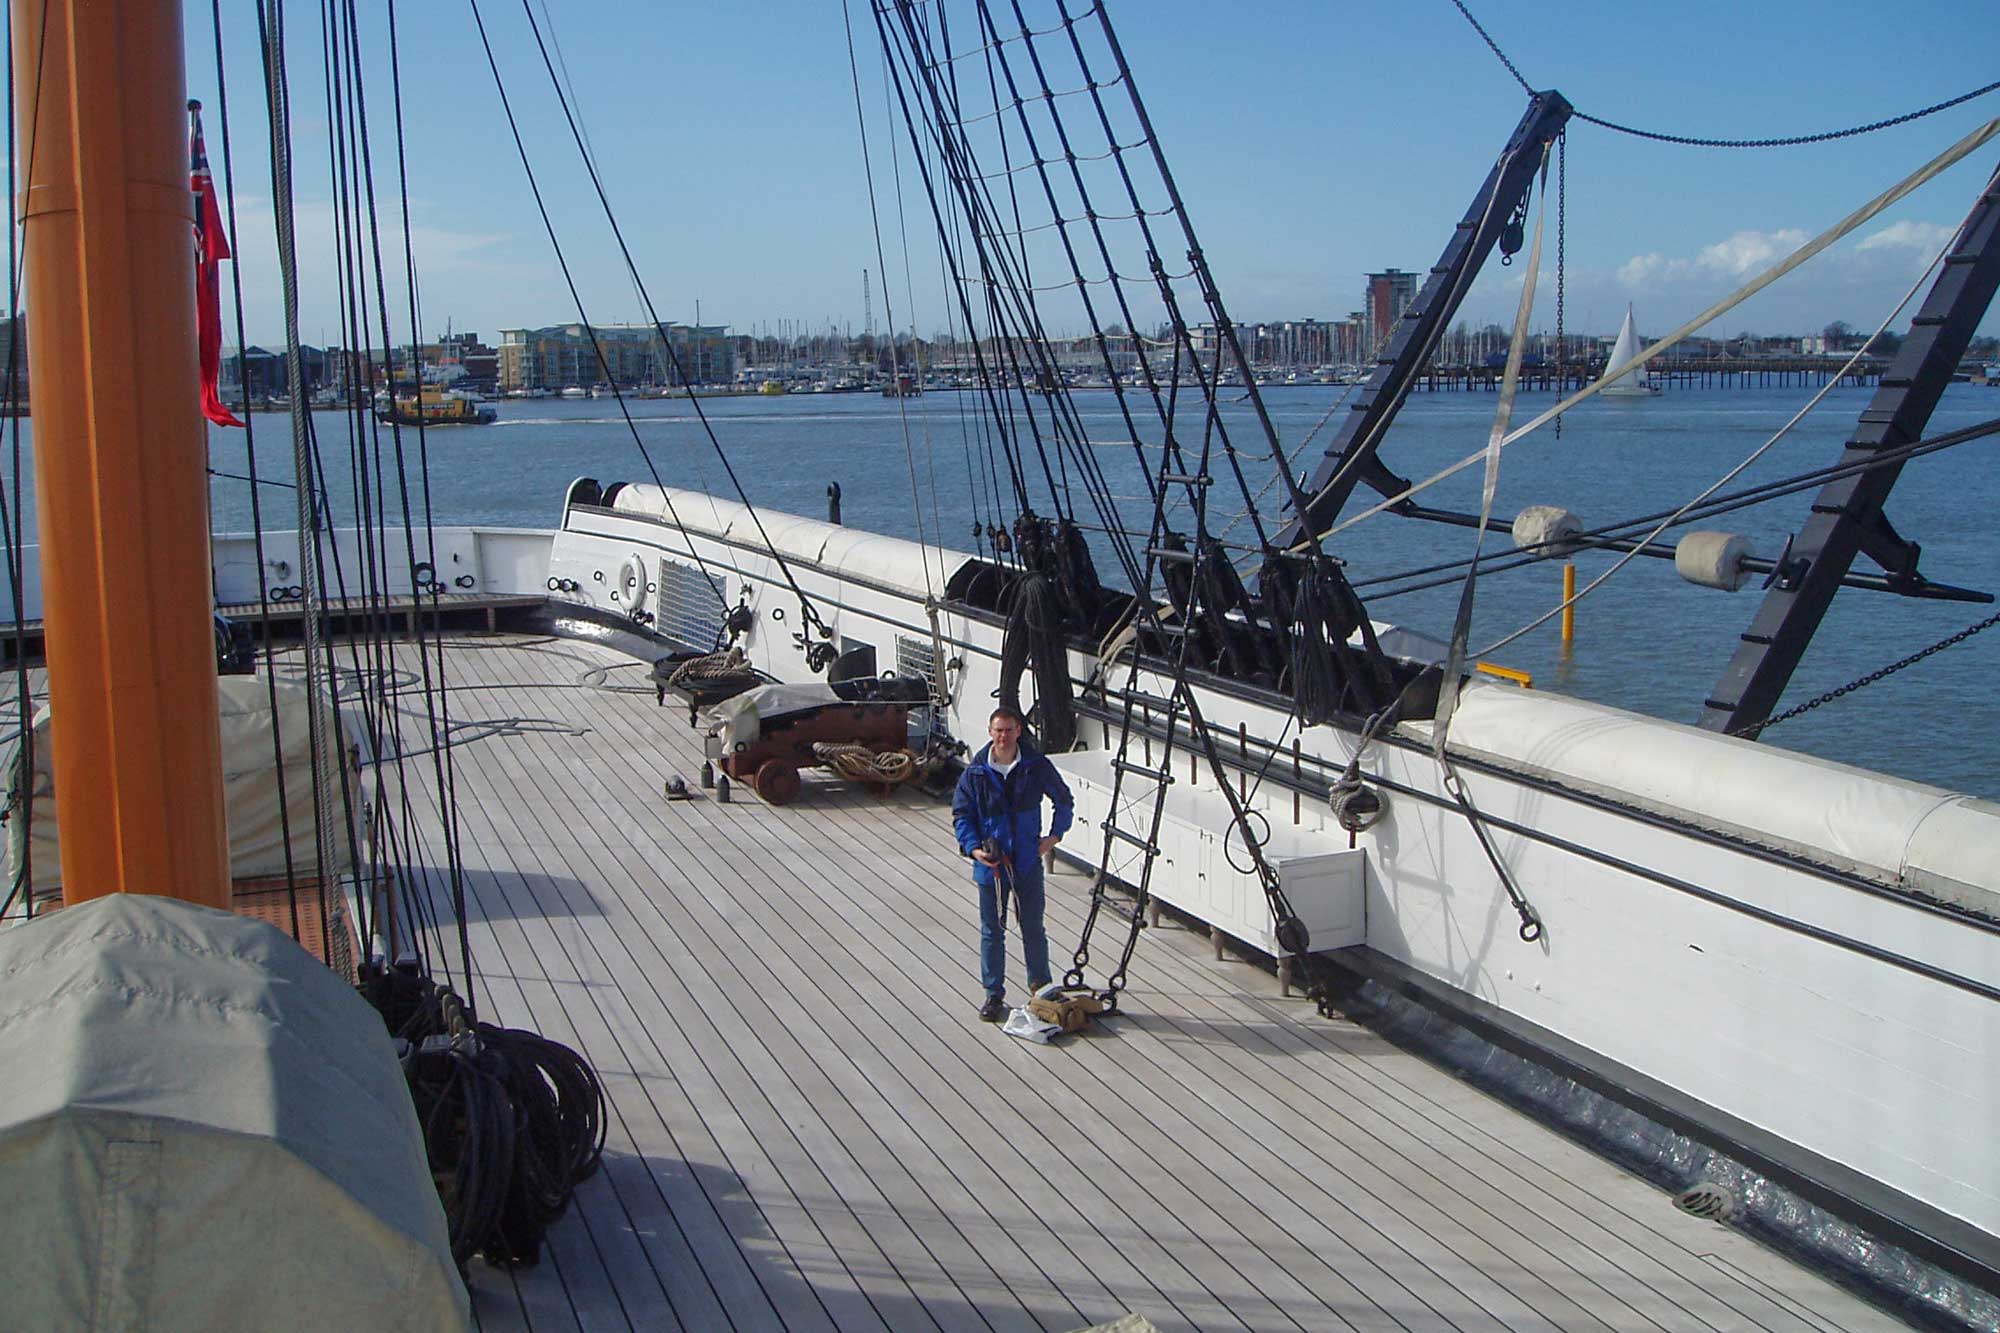
And here am I on the deck of HMS Warrior.
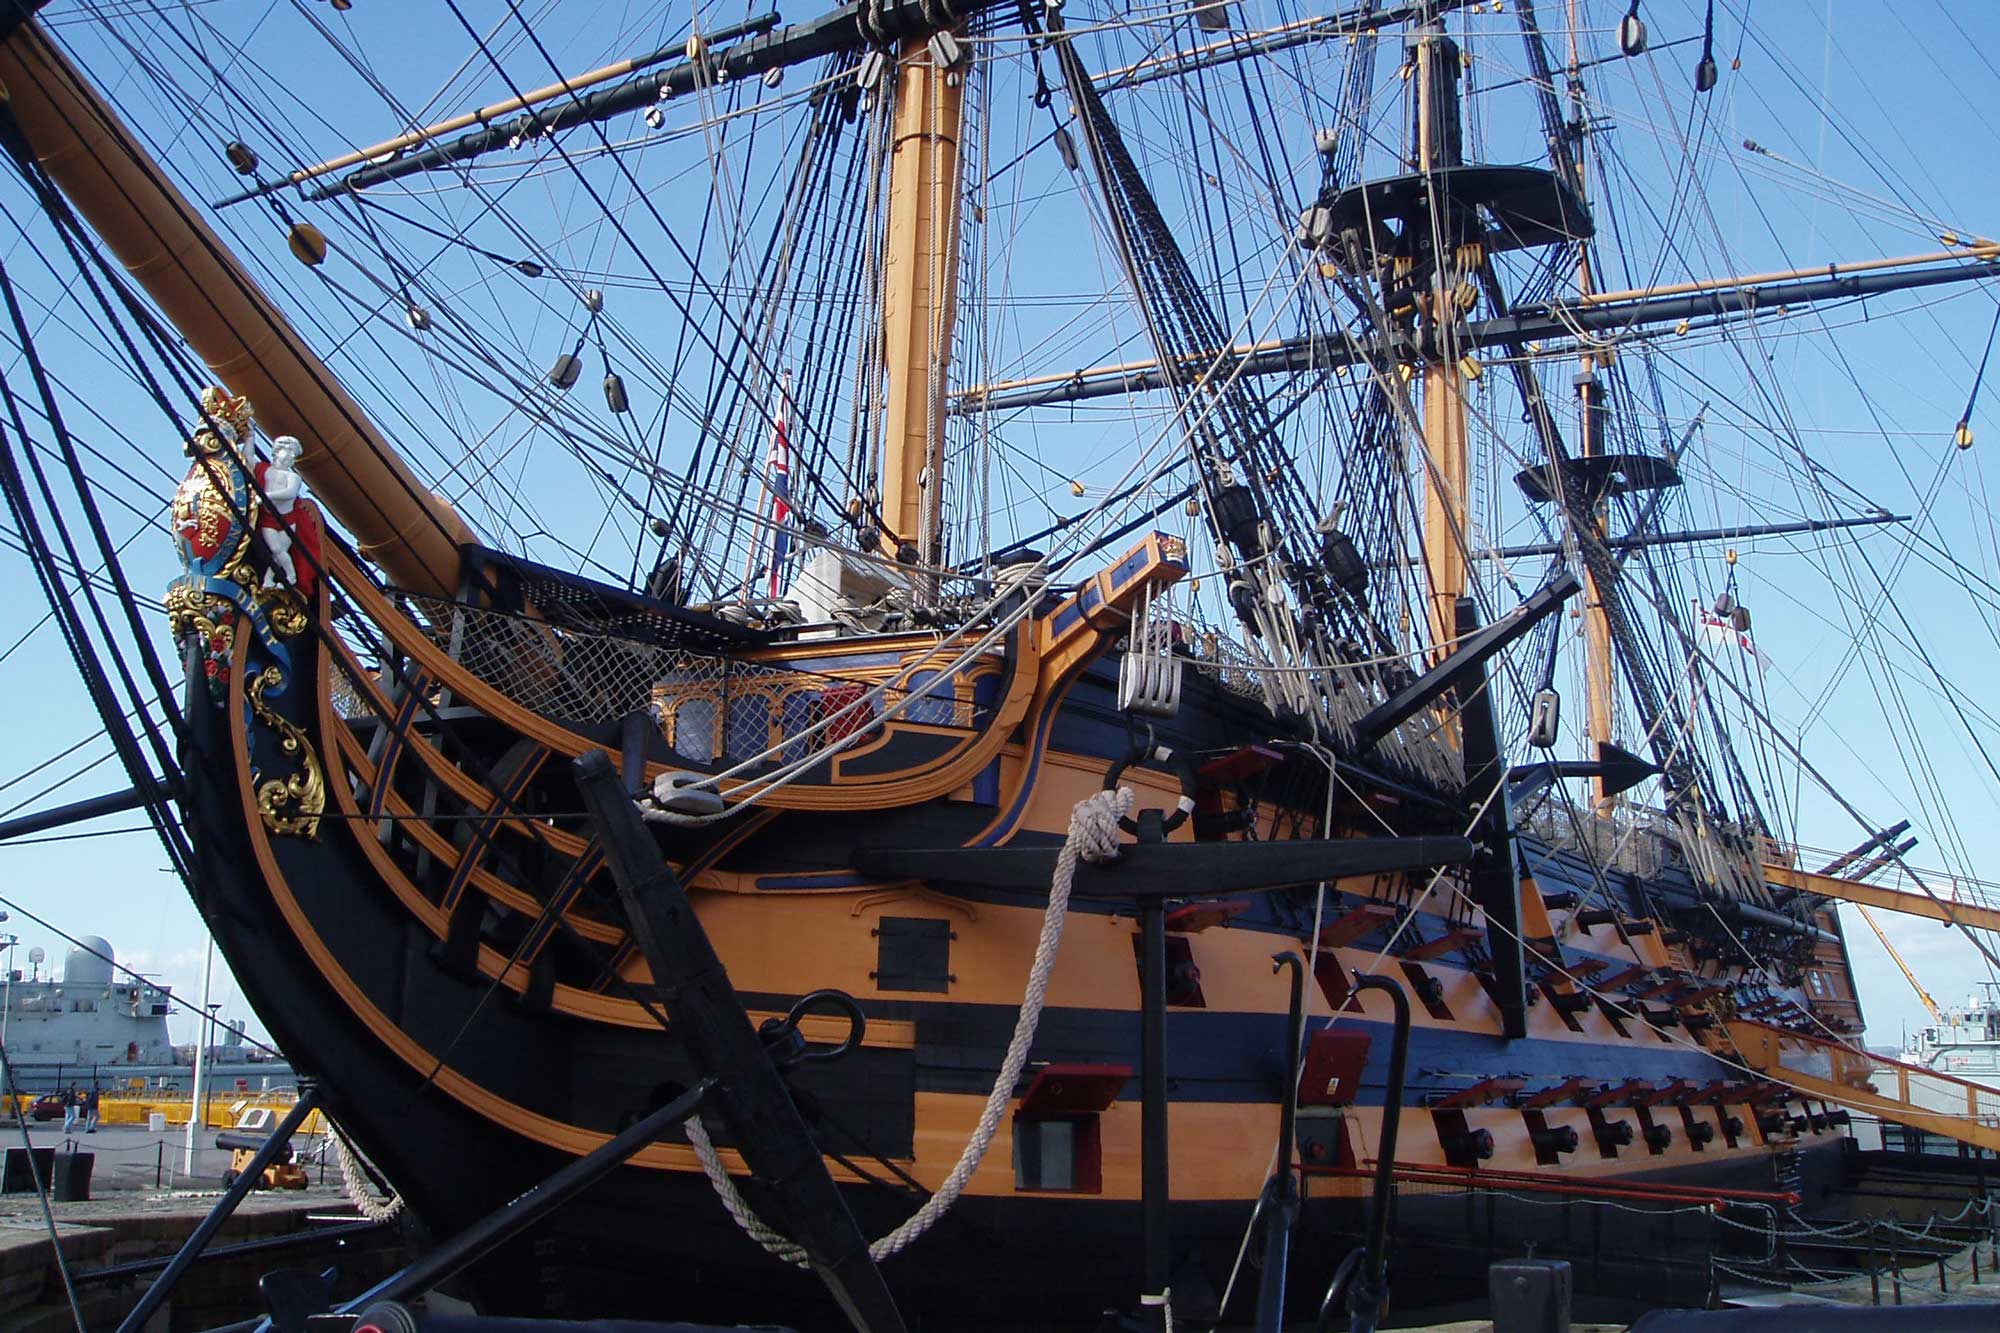
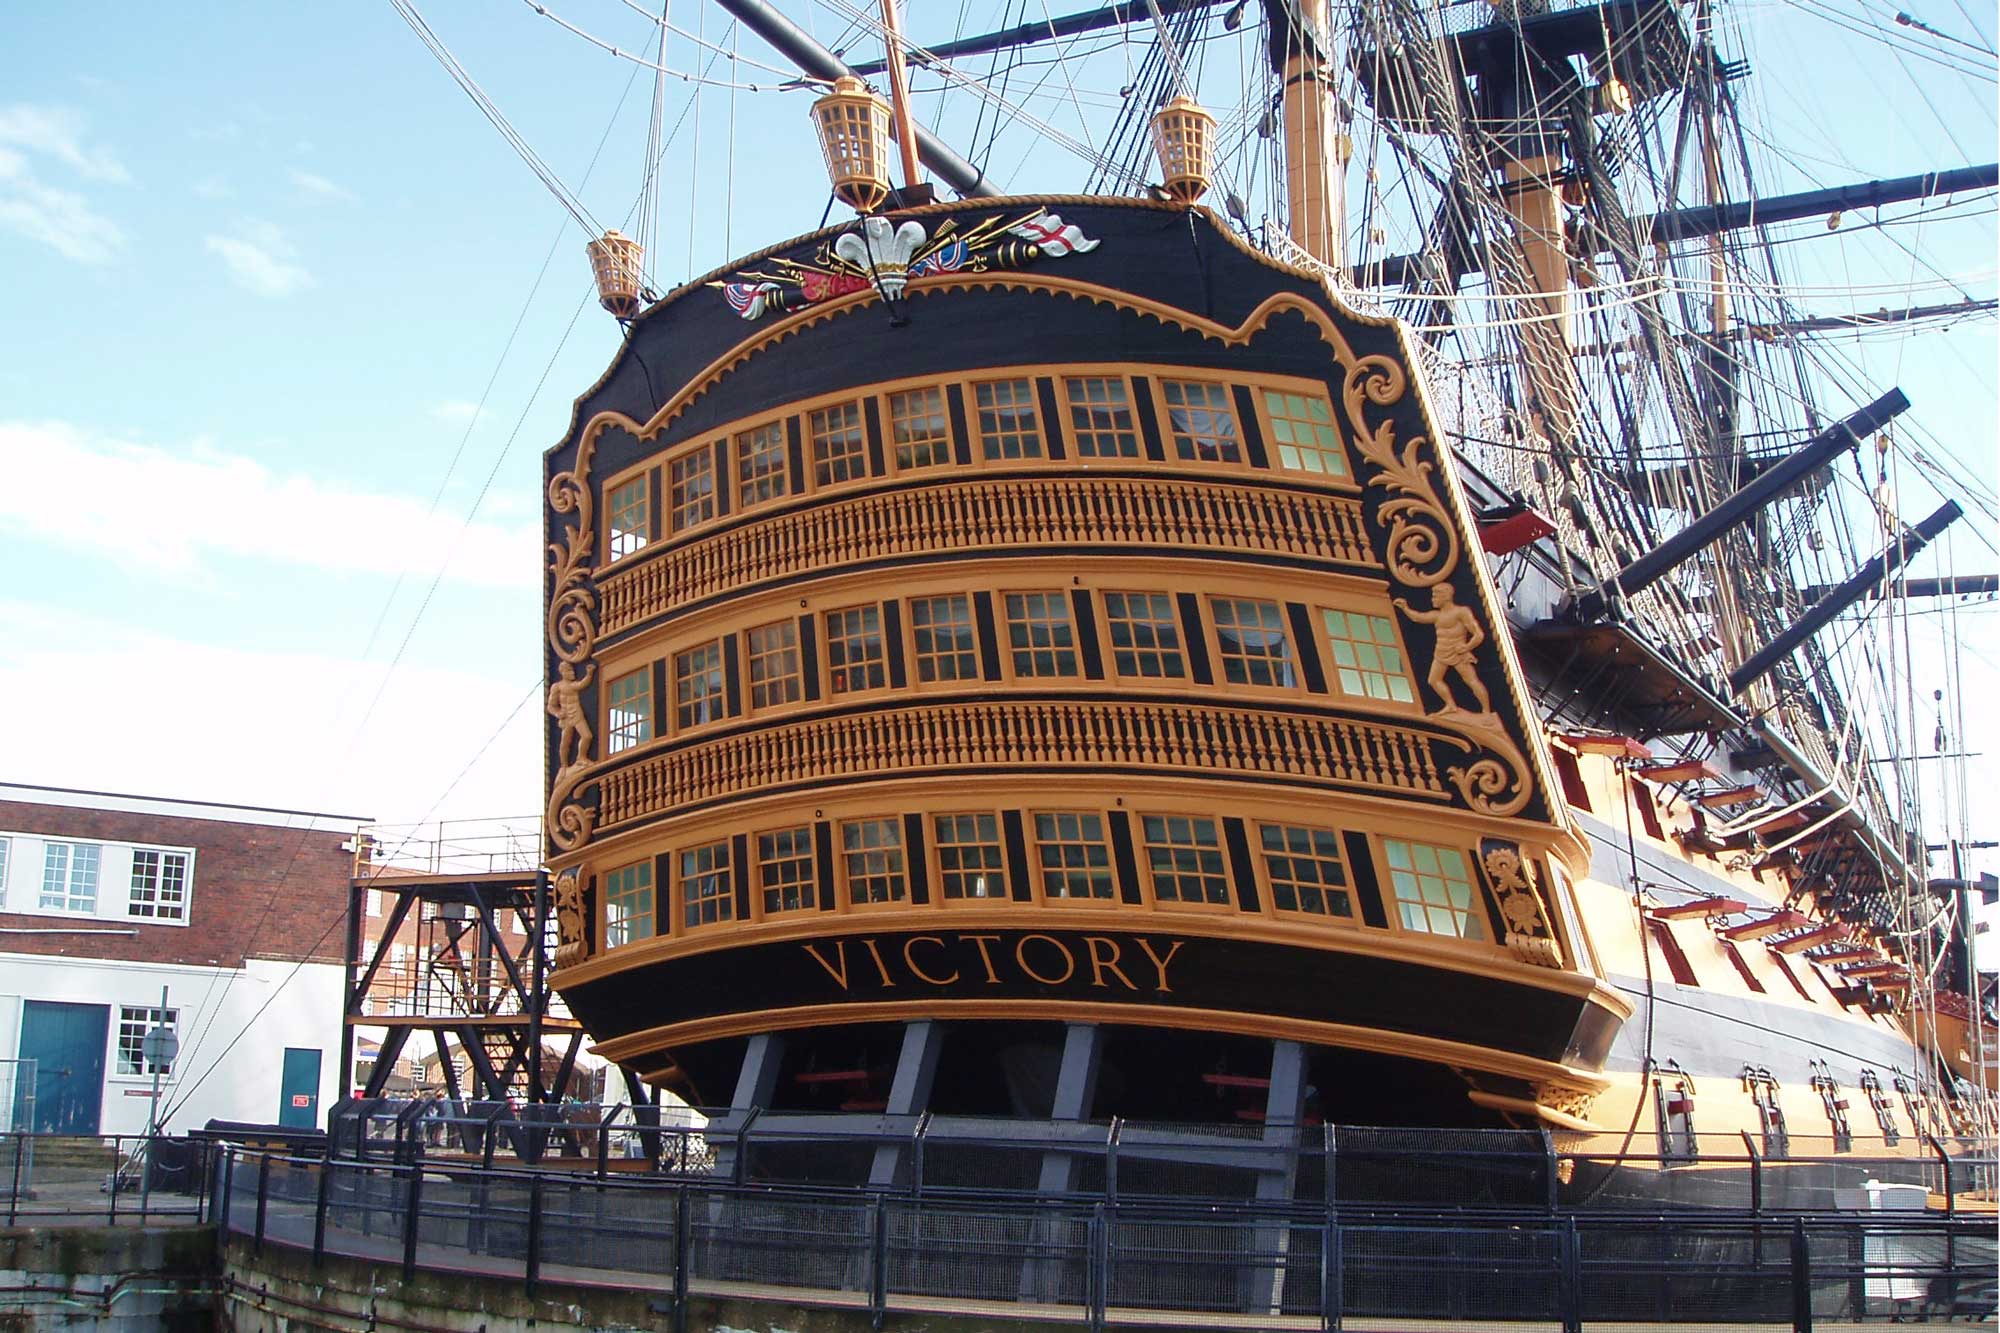
HMS Victory is a 104-gun ship of the line of the Royal Navy, built between 1759 and 1765. She is the oldest naval ship still in commission and the only remaining ship of the line except for the Regalskeppet Vasa. She sits in dry dock in Portsmouth as a museum ship.
The ship was launched on 7 May 1765 having cost £63,176 and 3 shillings (present day £50 million) and used around 6000 trees, 90% of which were oak and the remainder elm, pine and fir. For the first 13 years, however, she was placed in ordinary— in reserve having been roofed over, demasted and placed under general maintenance—moored in the River Medway ... then France joined the American War of Independence and Victory's history really began.
She was commissioned in 1778 under the command of Rear Admiral John Campbell (1st Captain) and Captain Jonathan Faulknor (2nd Captain), with the flag of Admiral the Honorable Augustus Keppel. She was armed with smooth bore, cast iron cannon 30 x 32 and 42 pounders (15 and 19 kg), 30 x 24 pounders (11 kg), and 40 x 12 pounders (5 kg). Later she also carried two carronade guns, firing 68 lb (31 kg) round shot.
Keppel put to sea from Spithead on July 9, 1778, with a force of thirty ships of the line and, on July 23, sighted a French fleet of twenty-nine ships 100 miles (160 km) west of Ushant. The French Admiral, Louis Guillouet, comte d'Orvilliers, who had orders to avoid battle, was cut off from Brest but retained the weather gage. Two of his ships escaped into port leaving him with twenty-seven. The two fleets manoeuvred during shifting winds and a heavy rain squall until a battle became inevitable with the British more or less in column and the French in some confusion. However, the French managed to pass along the British line with their most advanced ships. At about a quarter to twelve Victory opened fire on the Bretagne of 110 guns, which was being followed by the Ville de Paris of 90 guns. The British van escaped with little loss but Sir Hugh Palliser's rear division suffered considerably. Keppel made the signal to follow the French but Palliser did not conform and the action was not resumed. Keppel was court martialled and cleared and Palliser criticised by an inquiry before the affair turned into a party political squabble.
Various outings followed and then, on 8 December 1798, Victory being unfit for service as a warship, was ordered to be converted to a hospital ship to hold wounded French and Spanish prisoners of war.
However on 8 October 1799 HMS Impregnable was lost off Chichester, having run aground on her way back to Portsmouth after escorting a convoy to Lisbon. She could not be refloated and so was stripped and dismantled. Consequently, now short of a first rate, the Admiralty decided to recondition Victory. Work started in 1800 but as it proceeded an increasing number of defects were found and the repairs developed into a very extensive reconstruction. The original estimate was £23,500 but the final cost was £70,933.
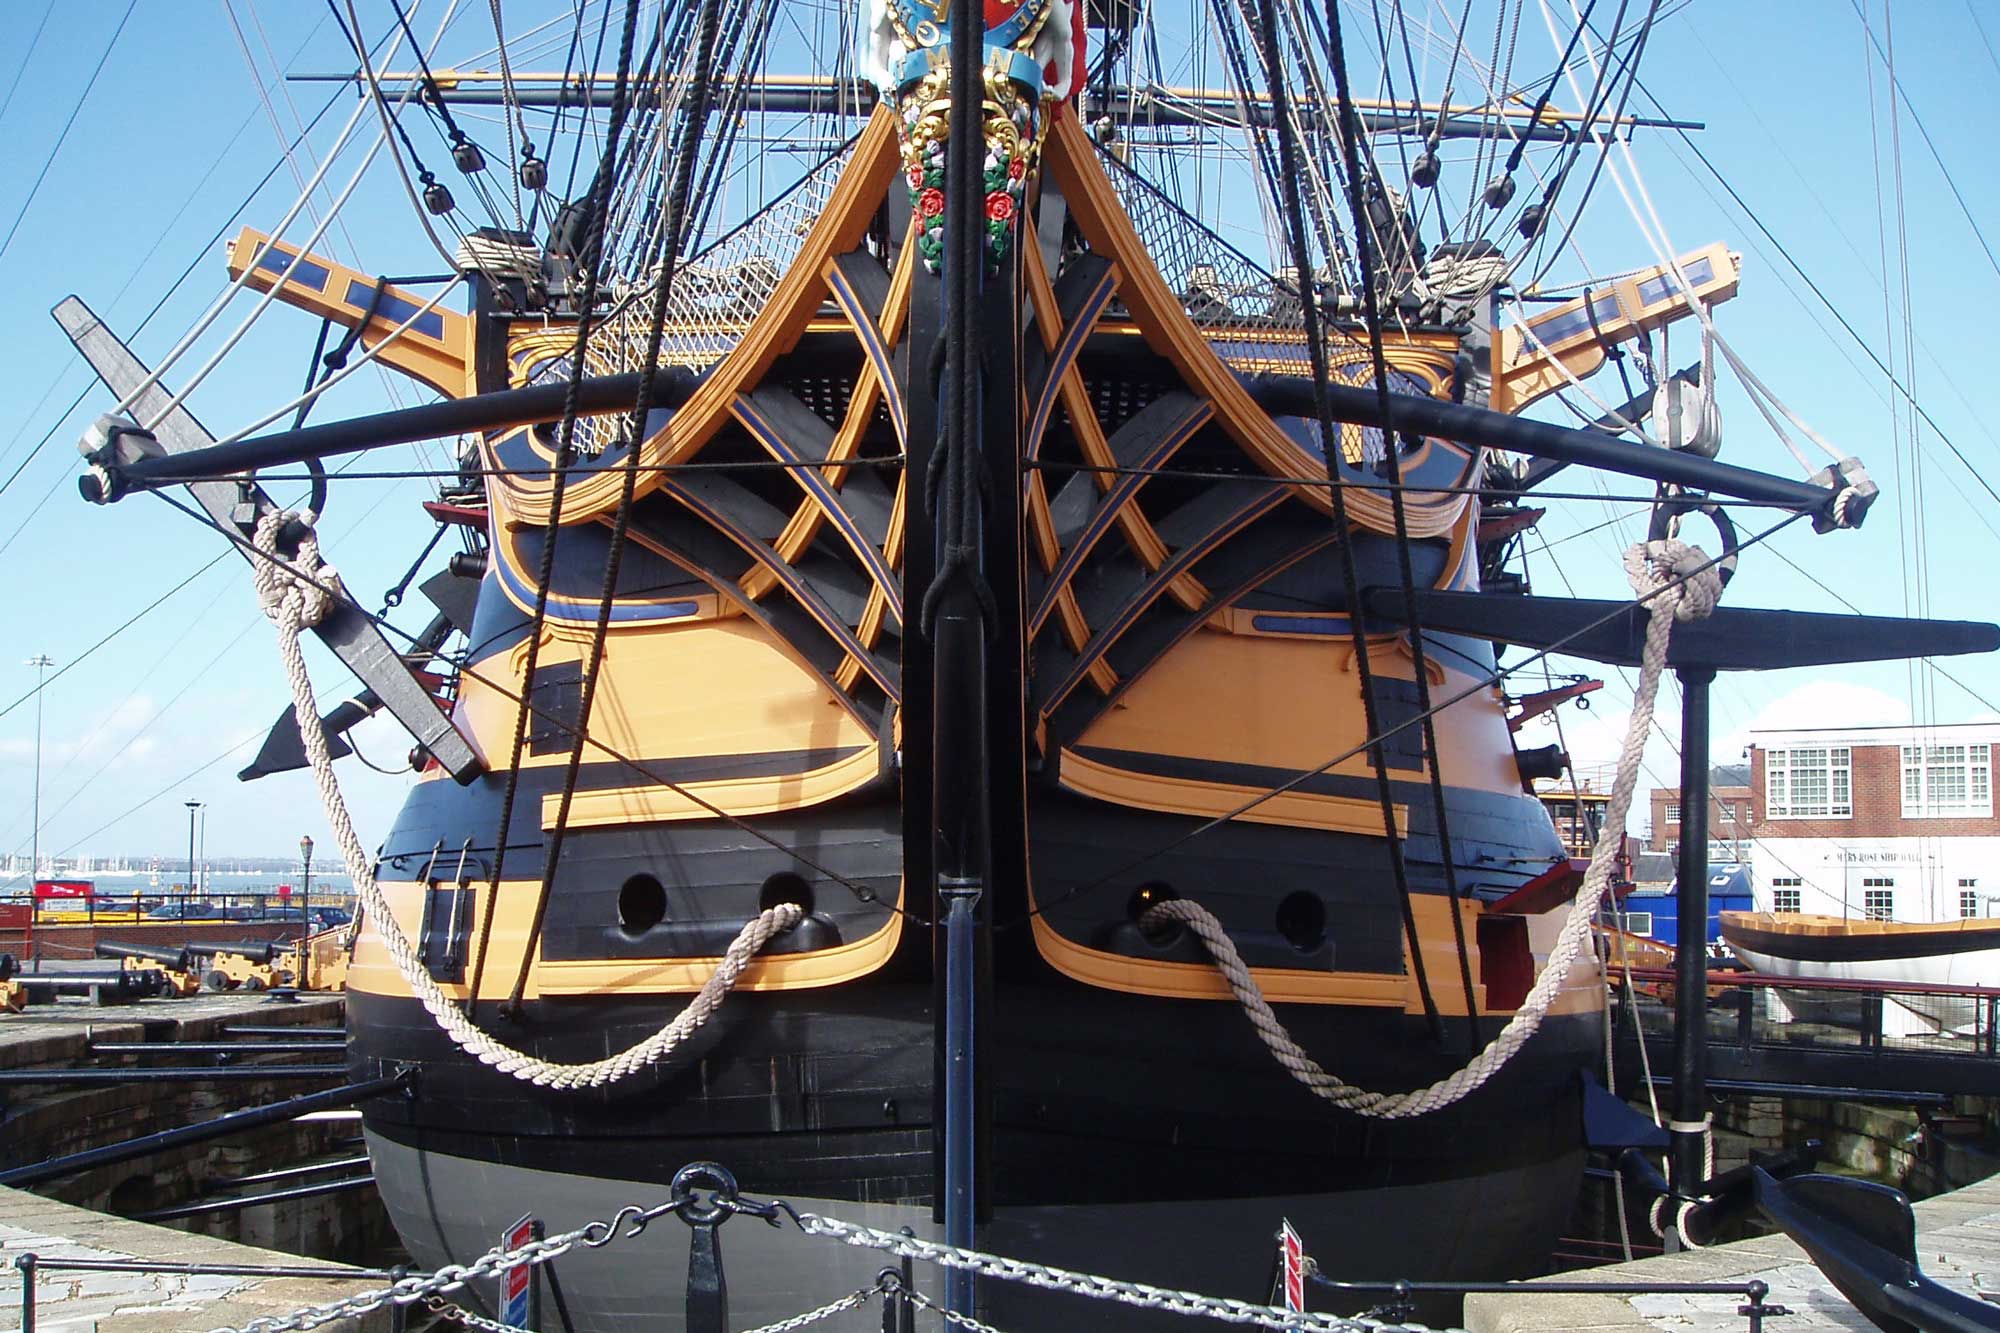
Extra gun ports were added, taking her from 100 guns to 104, and her magazine lined with copper. Her figurehead was replaced along with her masts and the paint scheme changed from red to the black and yellow seen today. Her gun ports were originally yellow to match the hull but later repainted black, giving a pattern later called the "Nelson chequer" and which was subsequently adopted by all Royal Navy ships after the Battle of Trafalgar. The work was completed on 11 April 1803 and the ship left for Portsmouth on 14 May under her new captain, Samuel Sutton.
Lord Nelson hoisted his flag in Victory on 16th May 1803 with Samuel Sutton as his flag captain and sailed to assume command in the Mediterranean on 20th May.
On May 28 Captain Sutton captured the French Embuscade of 32 guns, bound for Rochefort from San Domingo and on 30th July Captain Sutton exchanged commands with the captain of the Amphion, Thomas Masterman Hardy.
Victory was passing the island of Toro on 4th April 1805, when HMS Phoebe brought the news that the French fleet under Pierre-Charles Villeneuve had escaped from Toulon. While Nelson made for Sicily to see if the French were heading for Egypt, Villeneuve was entering Cádiz to link up with the Spanish fleet. On 7th May Nelson reached Gibraltar and received his first definite news.
The British fleet completed their stores in Lagos Bay, Portugal, on 10th May and two days later sailed westward with ten ships and three frigates in pursuit of the combined Franco-Spanish fleet of 17 ships. They arrived in the West Indies to find that the enemy was sailing back to Europe where Napoleon Bonaparte was waiting for them with his invasion forces at Boulogne.
The Franco-Spanish fleet was involved in the indecisive Battle of Cape Finisterre in fog off Ferrol with Admiral Sir Robert Calder's squadron on 22 July before taking refuge in Vigo and Ferrol to land wounded and abandon three damaged ships. Calder on 14 August and Nelson on 15 August joined Admiral Cornwallis's Channel Fleet off Ushant. Nelson continued to England in Victory leaving his Mediterranean fleet with Cornwallis who detached twenty of his thirty-three ships of the line and sent them under Calder to find the combined fleet at Ferrol. On 19 August came the worrying news that the enemy had sailed from there, followed by relief when they arrived in Cádiz two days later. On the evening of Saturday, 28 September, Lord Nelson joined Lord Collingwood's fleet off Cádiz, quietly, so that his presence would not be known.
When Admiral Villeneuve learned that he was to be removed from command he took his ships to sea on the morning of October 19, first sailing south towards the Mediterranean but then turning north towards the British fleet, beginning the Battle of Trafalgar. Nelson had already made his plans: to break the enemy line some two or three ships ahead of their Commander in Chief in the centre and achieve victory before the van could come to their aid. In the event fitful winds made it a slow business. For five hours after Nelson's last manoeuvring signal the two columns of British ships slowly approached the French line before Royal Sovereign, leading the lee column, was able to open fire on Fougueux. Twenty five minutes later Victory broke the line between Bucentaure and Redoutable firing a double shotted broadside into the stern of the former from a range of a few yards. At 25 minutes past one Nelson was shot, the fatal ball entering his left shoulder and lodging in his spine. He died at half past four. Such killing had taken place on Victory's quarter deck that Redoutable attempted to board her, but the marines and small arms men repelled them. Nelson's last order was for the fleet to anchor but this was rejected by Vice Admiral Collingwood. Victory lost 57 killed and 102 wounded.
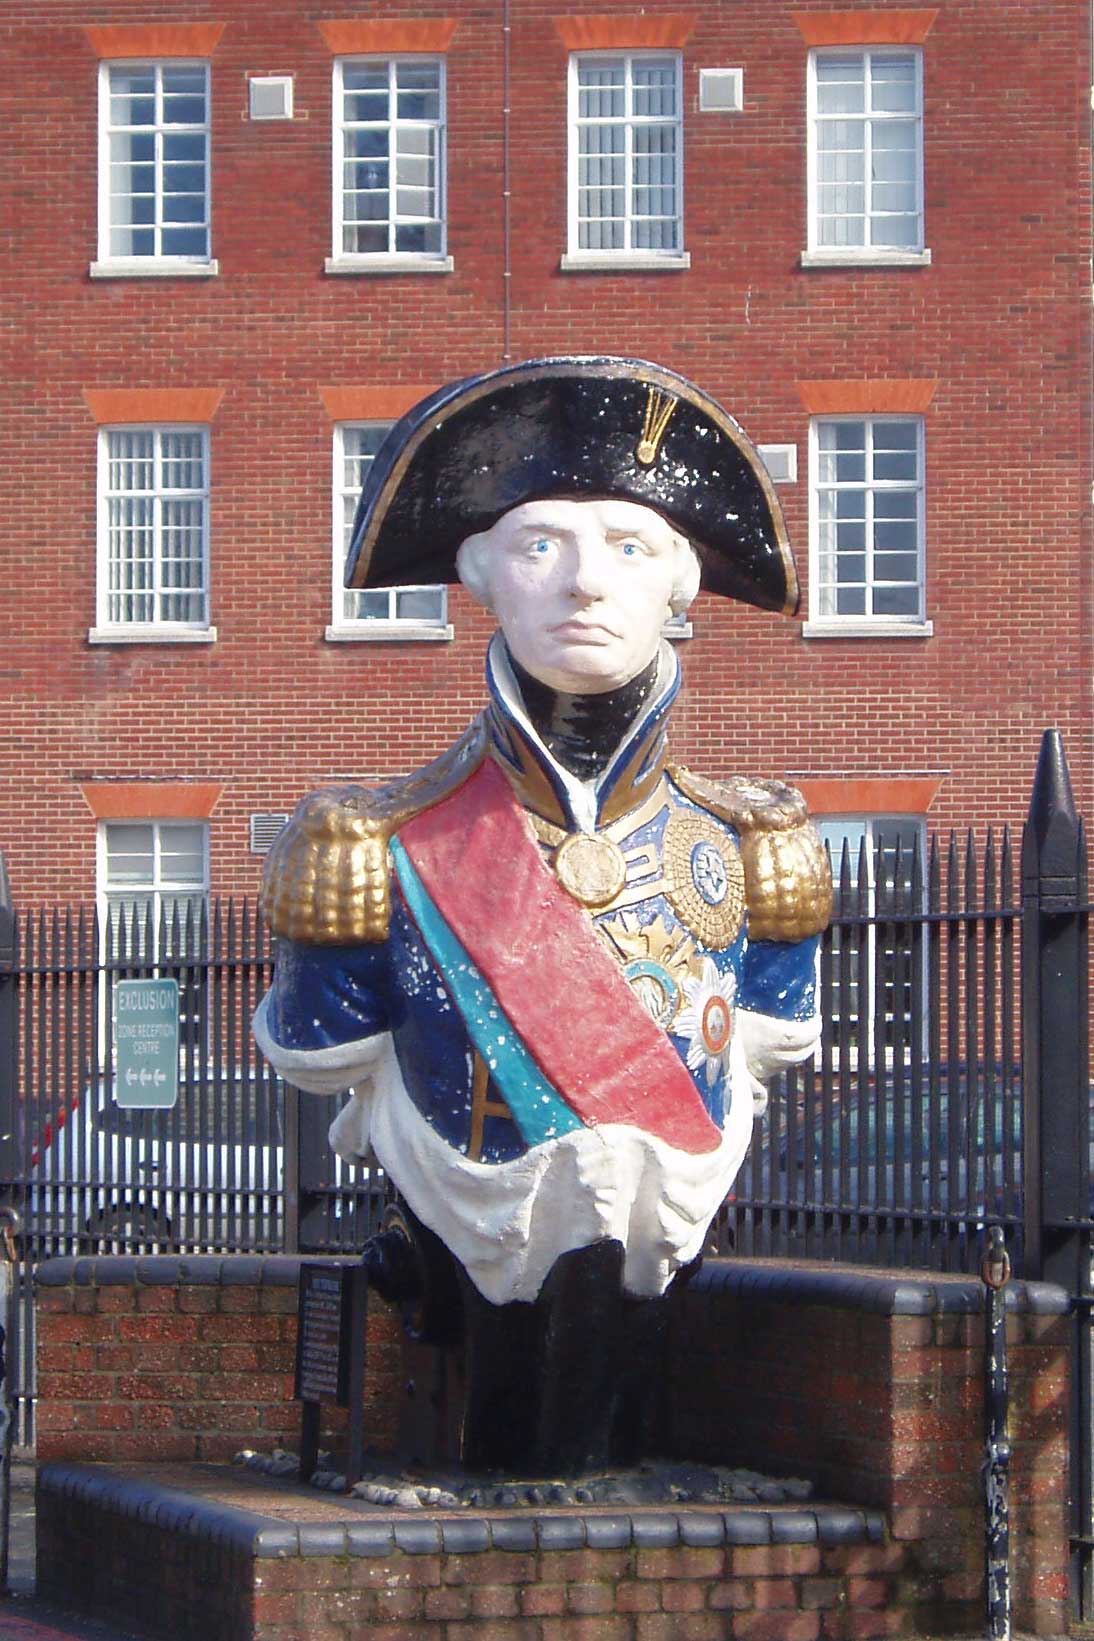
Victory took Nelson's body to England where, after lying in state at Greenwich, he was buried in St. Paul's Cathedral on 6th January 1806.
Some say that during the trip home Nelson's body was preserved by storing it in a large barrel of rum. This is not correct: it was stored in a barrel of brandy. As our tour guide told us: "It was brandy with a bit of body in it!"
Victory bore many Admirals' flags after Trafalgar, and sailed on numerous expeditions, including two Baltic campaigns under Admiral Sir James Saumarez. Her active career ended on November 7, 1812, when she was moored in Portsmouth Harbour off Gosport and used as a depot ship.
As the years passed by, Victory slowly deteriorated at her moorings. A campaign to save her was started in 1921 with the Save the Victory Fund under the aegis of the Society for Nautical Research, by which time she was in very poor condition. The outcome of the campaign was that British Government agreed to restore and preserve her to commemorate Nelson, the Battle of Trafalgar and the Royal Navy's supremacy during and after the Napoleonic period.
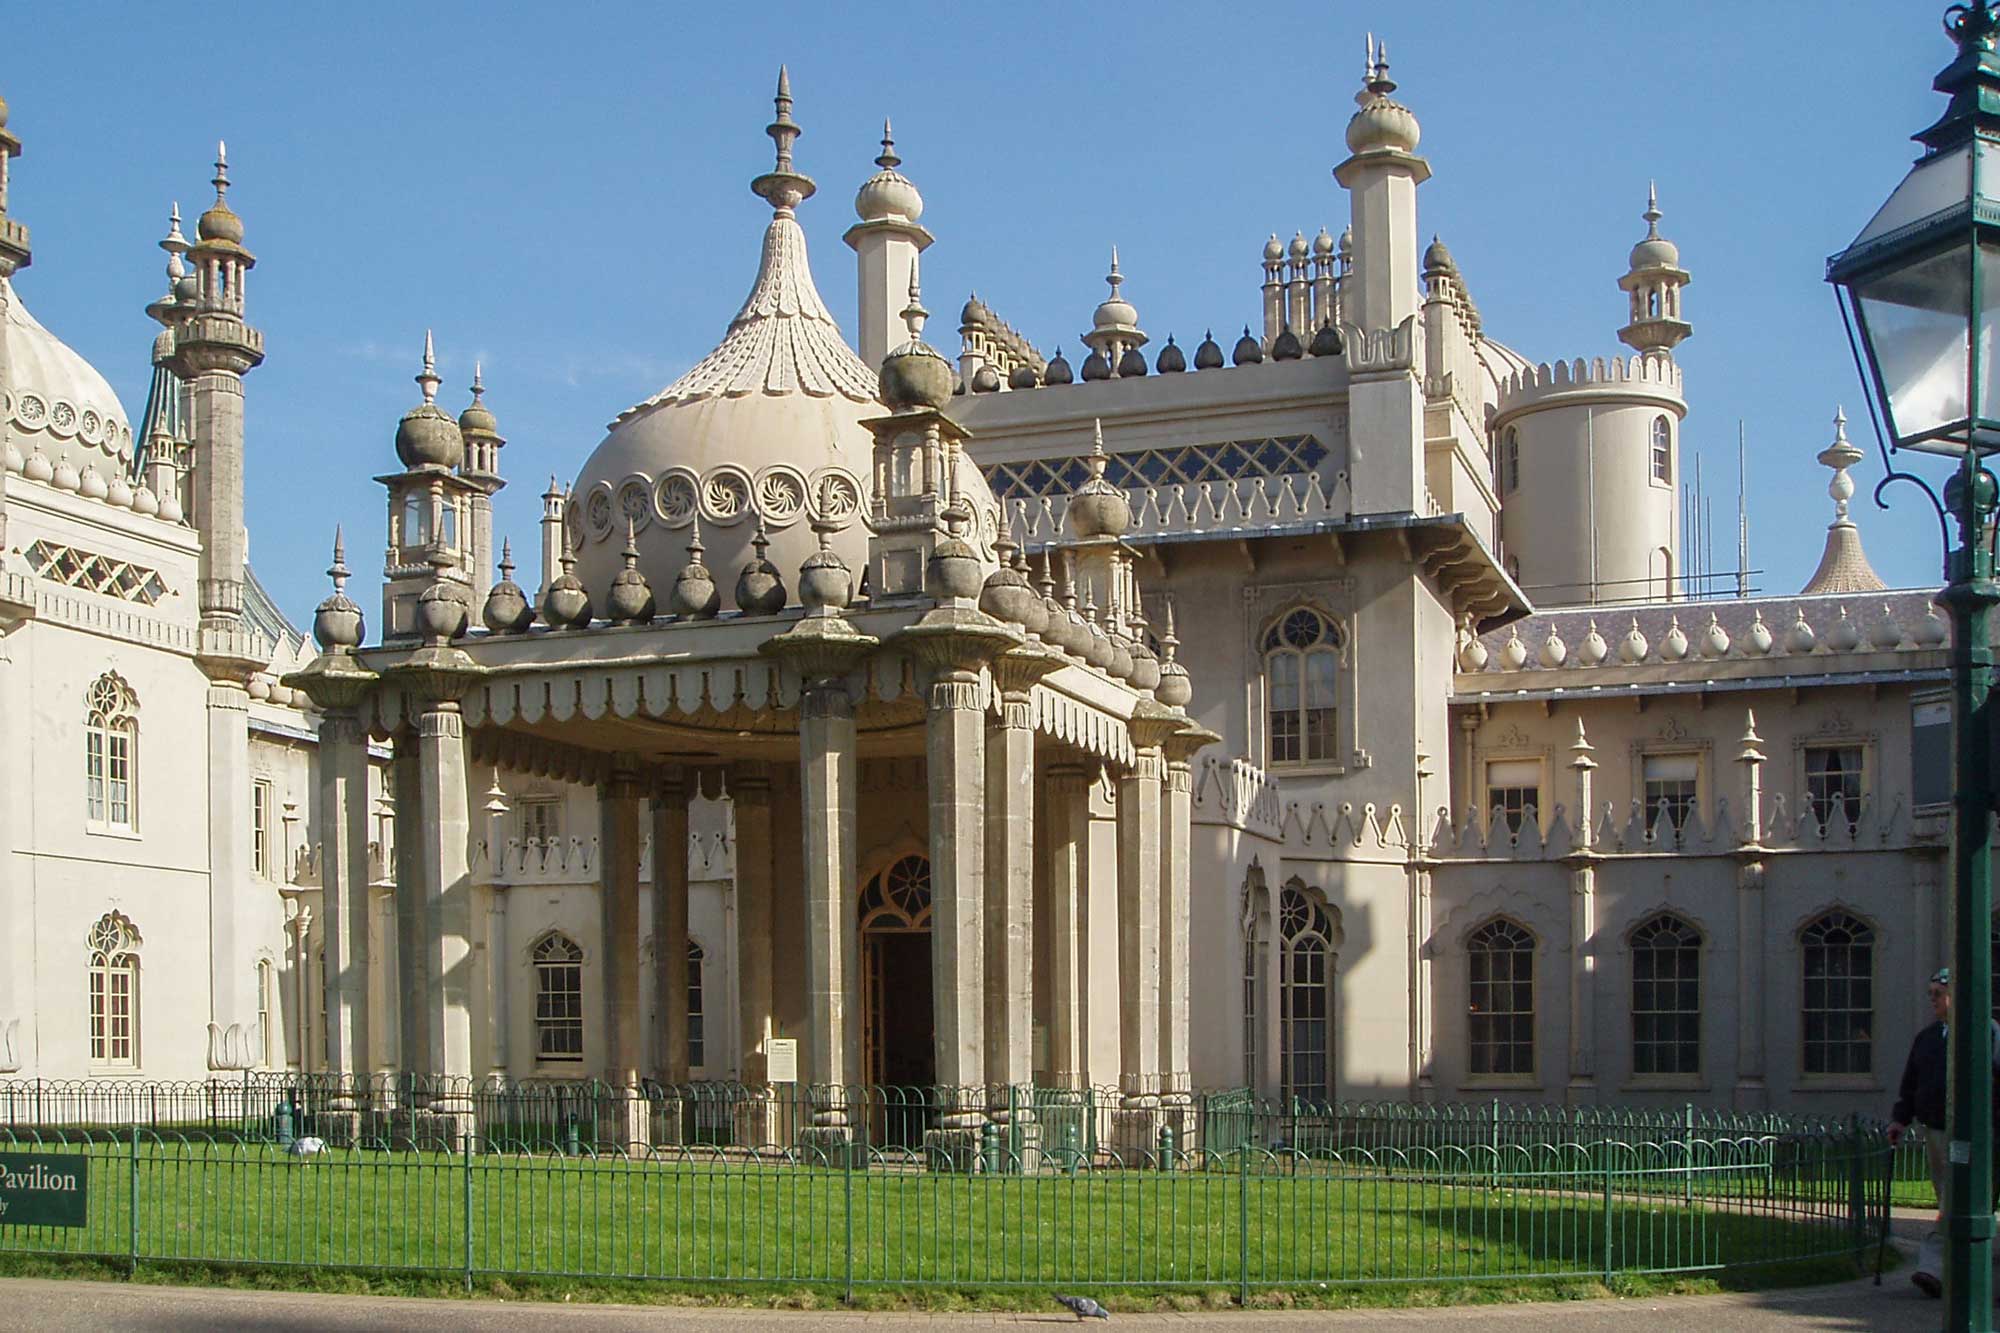
The Royal Pavilion in Brighton was built in the 19th Century as a seaside retreat for the then Prince Regent who was to become William IV.
The future King first visited Brighton in 1783, due to his physician advising him that the seawater would be beneficial to his gout. Being remote from the Royal Court in London, the Pavilion was also a discreet location for the Prince to enjoy liaisons with his first wife, Mrs Fitzherbert, his marriage to whom was illegal, due to her Catholic religion.
Between 1815 and 1822 the designer John Nash redesigned the palace, and it is the work of Nash which can be seen today. The palace looks rather striking in the middle of Brighton, having a very Indian appearance on the outside. However, the fanciful interior design is heavily influenced by both Chinese and Indian fashion (with Moghul and Islamic architectural elements).
After the death of George IV in 1830, his successor King William IV also stayed in the Pavilion on his visits to Brighton. However after Queen Victoria's last visit to Brighton in 1845, the Government planned to sell the building and grounds. However the Brighton Commissioners and the Brighton Vestry successfully petitioned the government to sell the Pavilion to the town for Ł53,000 in 1849 under the Brighton Improvement (Purchase of the Royal Pavilion and Grounds) Act 1850
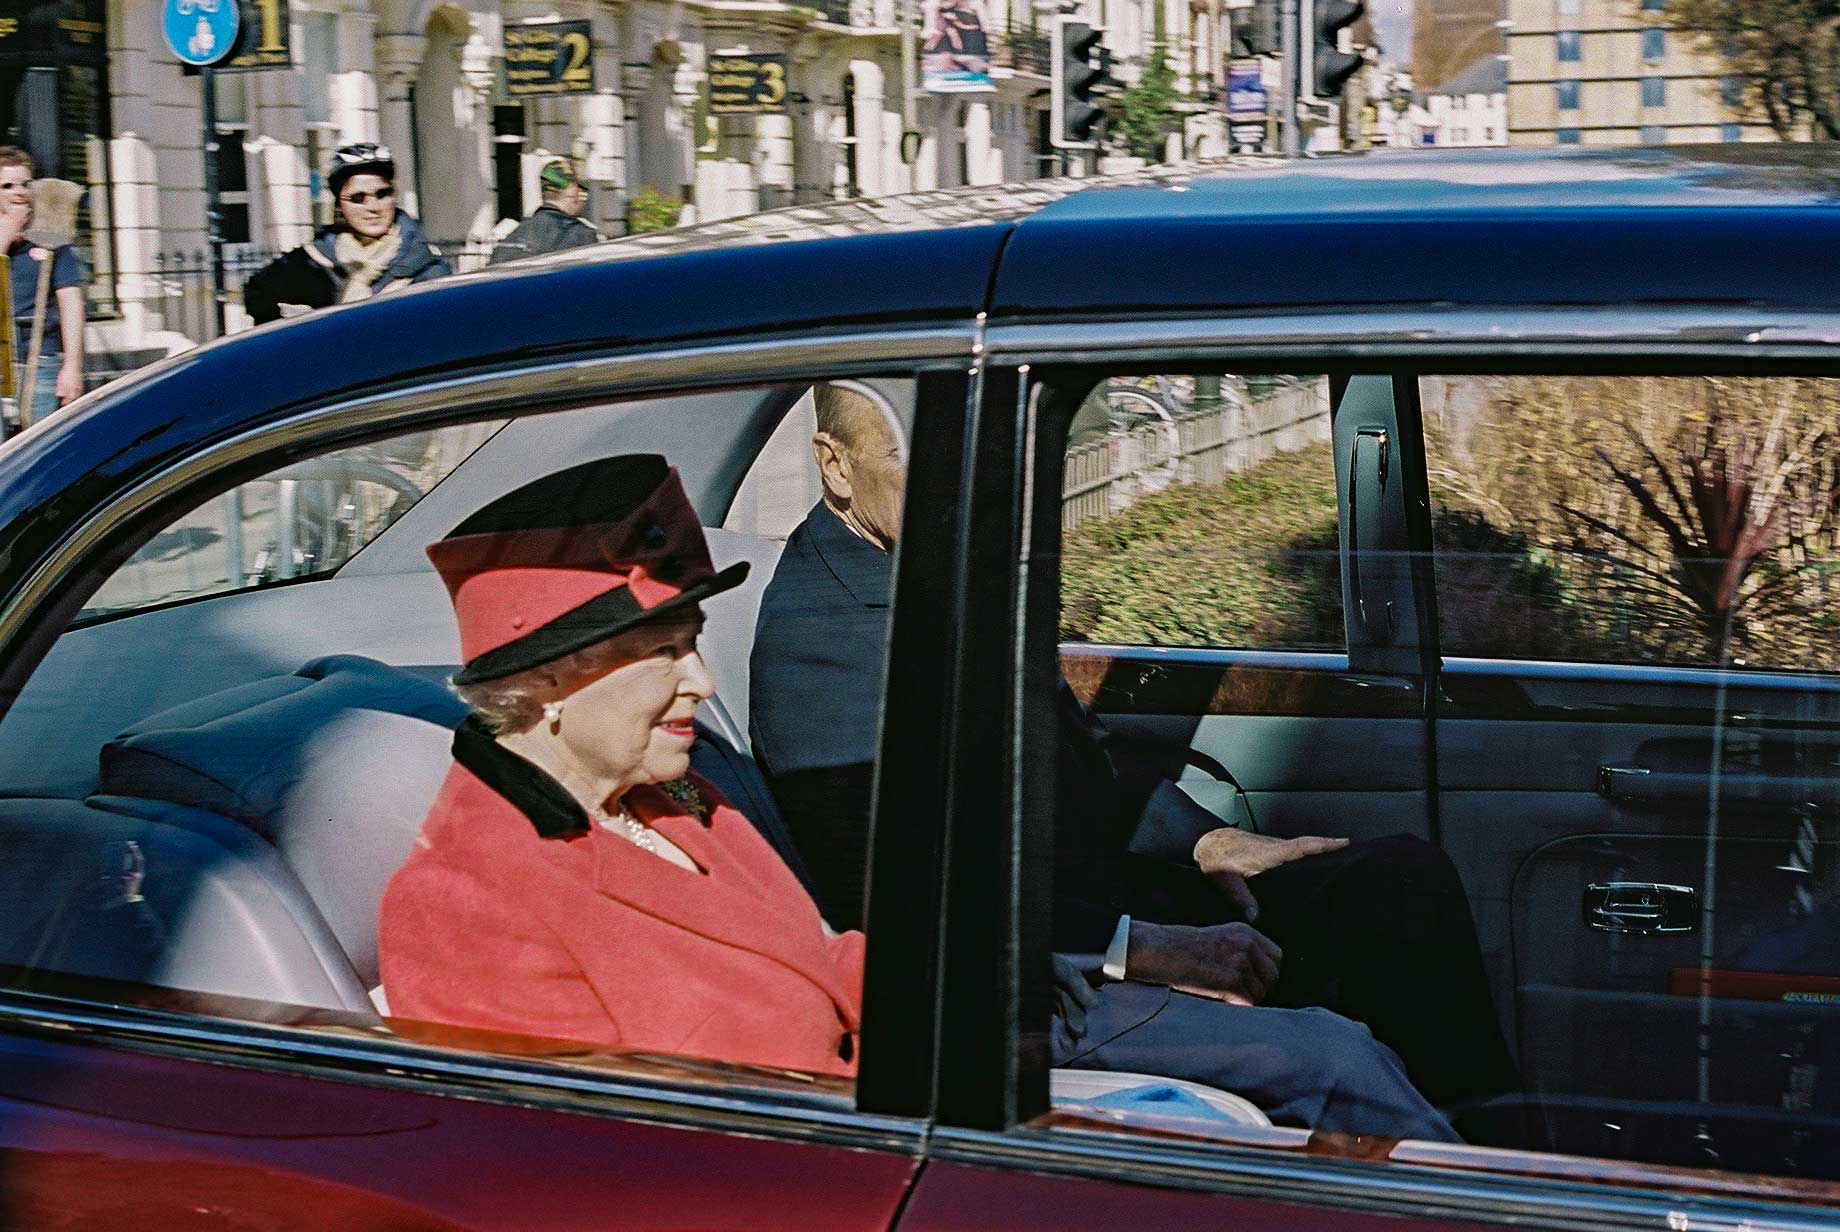
As Pat and I approached the Royal Pavilion, Pat noticed some police officers on the roofs of nearby buildings. She asked some other officers who were stationed on the ground and they told us that the Queen was actually in the adjacent building known as the Dome (which was, by the way, the venue for the Eurovision Song Contest in 1974 which was won by Abba with the song "Waterloo").
We therefore waited outside and Pat managed to take this photo of the Queen as she went by with Prince Philip in their Rolls Royce.
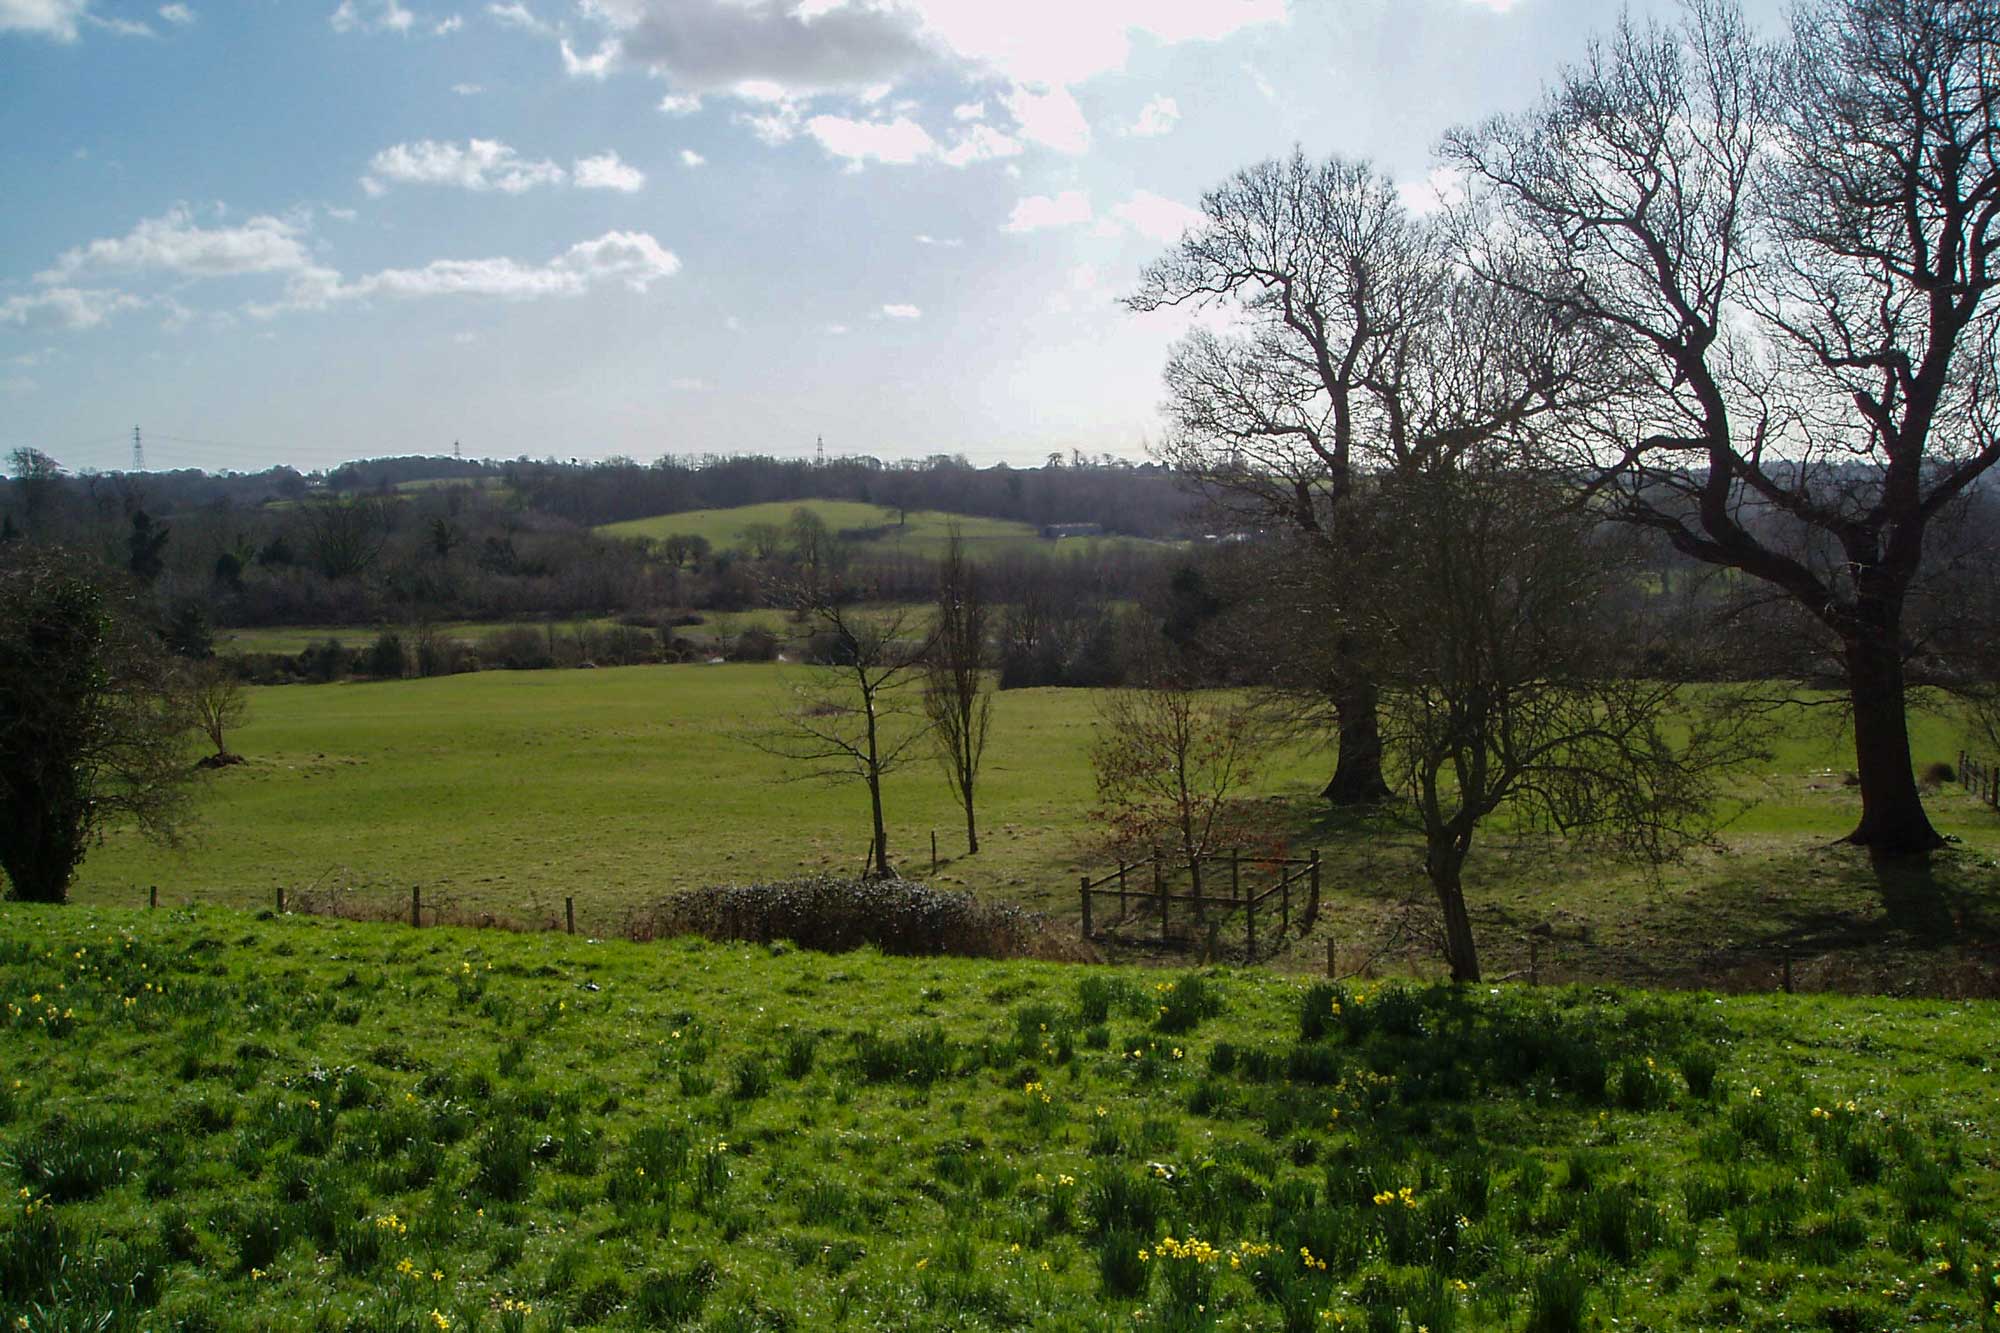
On 14th October 1066 the most important battle in British history took place on these fields. Known as "the Battle of Hastings", it actually took place on Senlac Hill in what is now the small town of Battle.
The two combatants were Harold Godwinson (or Harold II) and William the Conqueror (or William I). Harold was the Anglo-Saxon King of England, William the King of Normandy in France.
They were in fact both related: Harold's immediate predecessor on the English throne had been Edward the Confessor whose father, Ethelred the Unready, was married to Emma of Normandy. She was the sister of Richard II of Normandy whose grandson was William the Conqueror.
Edward the Confessor appears to have promised the throne of England to both Harold and William and therefore the forthcoming battle appears to have been inevitable following Edward's death in January 1066.
It was Harold who first made claim to throne and was installed as king.
On 28th September 1066, William, asserting his claim to the English crown by military force, landed unopposed at Pevensey after being delayed by a storm in the English Channel. Legend has it that upon setting foot on the beach, William tripped and fell on his face. Turning potential embarrassment in front of his troops into a face-saving exercise, he rose with his hands full of sand and shouted "I now take hold of the land of England!" This bears suspicious resemblance to the story of Julius Caesar's invasion of Britain, and was probably employed by William's biographer to enhance the similarities between Caesar and William.
On hearing the news of the landing of the Duke's forces, the Saxon Harold II, who had just destroyed an invading Norwegian Viking army under King Harald Hardråda and Tostig Godwinson (Harold's brother) at the Battle of Stamford Bridge, hurried southward from London the morning of the 12th, gathering what forces he could on the way. He arrived at the battlefield the night of 13 October 1066.
Harold deployed his force, astride the road from Hastings to London, on Senlac Hill some six miles inland from Hastings. To his back was the great forest of Anderida (the Weald) and in front the ground fell away in a long glacis-like slope, which at the bottom rose again as the opposing slope of Telham Hill. The later town called Battle in the modern county of East Sussex was named to commemorate this event.
The Saxon force is usually estimated at seven to eight thousand strong and consisted entirely of infantry (the English rode to their battles but did not fight from horseback). It comprised the English men-at-arms of the fyrd, mainly thegns (the English equivalent of a land-holding aristocracy), along with lesser thegns and a core of professional warriors: Housecarls, the King's royal troops and bodyguards. The thegns and housecarls, probably veterans of the recent Stamford Bridge battle, were armed principally with swords, spears, and in some cases the formidable Danish axes, and were protected by coats of chainmail and their usually circular shields. They took the front ranks, forming a 'shield wall' with interlocking shields side by side. The entire army took up position along the ridgeline; as casualties fell in the front lines the rear ranks would move forward to fill the gaps. The Saxons, however, were still exhausted from the Battle of Stamford Bridge, where they had achieved an almost-Pyrrhic victory against the Vikings, and were in no shape to fight again.
On the morning of Saturday, 14 October 1066, Duke William of Normandy gathered his army below the Saxon position. The Norman army was of comparable size to the Saxon force, and composed of William's Norman, Breton and Flemish vassals along with their retainers, and freebooters from as far away as Norman Italy. The nobles had been promised English lands and titles in return for their material support: the common troopers were paid with the spoils and "cash", and hoped for land when English fiefs were handed out. Many had also come because they considered it a holy crusade, due to the Pope's decision to bless the invasion. The army was deployed in the classic medieval fashion of three divisions, or "battles" - the Normans taking the centre, the Bretons on the left wing and the Franco-Flemish on right wing. Each battle comprised infantry, cavalry and archers along with crossbowmen. The archers and crossbowmen stood to the front for the start of the battle.
Legend has it that William's minstrel and knight, Ivo Taillefer, begged his master for permission to strike the first blows of the battle. Permission was granted, and Taillefer rode before the Saxons alone, tossing his sword and lance in the air and catching them while he sang an early version of The Song of Roland. The earliest account of this tale (in The Carmen de Hastingae Proelio) says that a Saxon champion came from the ranks, and Taillefer quickly slew him, taking his head as a trophy to show that God favoured the invaders: later 12th century sources say that Taillefer charged into the English ranks and killed one to three Englishmen before suffering death himself. Regardless, fighting was now underway.
The battle commenced with an archery barrage from the Norman archers and crossbowmen. However, the Norman archers drew their bowstrings only to the chest and their crossbows were loaded by hand without assistance from a windlass, so most shots either failed to penetrate the housecarls' shields or sailed over their heads to fall harmlessly beyond. The Normans therefore had no other choice than to charge the Saxons time and time again, only to be repulsed. Another tactic used was to pretend to retreat and then when the Saxons chased after them off the hill they were fighting on, without warning the Normans would turn round and attack with the Saxons away from cover. In any event, the archery failed to make any impression on the Saxon lines. Norman archery tactics in general relied on picking up enemy arrows shot back at them, and as the Saxons had left their bowmen in York during the rush to meet William, the Norman arrowfire soon decreased.
The Norman infantry and cavalry then advanced, led by the Duke and his half-brothers: Bishop Odo and Count Robert of Mortain. All along the front, the men-at-arms and cavalry came to close quarters with the defenders, but the long and powerful Danish axes were formidable and after a prolonged melee the front of the Saxon line was littered with cut down horses and the dead and dying. The shield wall remained intact, and the Saxons shouted their defiance with "Olicrosse!" (holy cross) and "Ut, ut!" (out, out). The Normans responded with "Dex a?e!" (God's help).
However, the Bretons on the left wing (where the slope is gentlest), came into contact with the shield wall first. Seemingly unable to cope with the defence, the Bretons broke and fled. The Bretons, due to their Alannic influence, were experienced in cavalry tactics and may have set up a feigned retreat. Possibly led by one of Harold's brothers, elements of the English right wing broke ranks and pursued the Bretons down the hill in a wild unformed charge. On the flat, without a defensive shield wall formation, the Saxons were charged by the Norman cavalry and slaughtered.
This eagerness of the Saxons to switch to a premature offensive was noted by Norman lords and the tactic of the 'feigned' flight was used with success by the Norman horsemen throughout the day. With each subsequent assault later in the day, the Norman cavalry began a series of attacks each time, only to wheel away after a short time in contact with the Saxon line. A group of Saxon would rush out to pursue the apparently defeated enemy, only to be ridden-over and destroyed when the cavalry wheeled about again to force them away from the shield wall. At one time during the fight William was thought to be dead but he took his helm off and he shouted "look, I am alive."
The Normans retired to rally and re-group, and to begin the assault again on the shield wall. The battle dragged on throughout the remainder of the day, each repeated Norman attack weakening the shield wall and leaving the ground in front littered with Saxon and Norman dead.
Toward the end of the day, the Saxon defensive line was depleted. The repeated Norman infantry assaults and cavalry charges had thinned out the armoured housecarls, the lines now filled by the lower-quality peasant levies. William was also worried, as nightfall would soon force his own depleted army to retire, perhaps even to the ships where they would be prey to the Saxon fleet in the Channel. Preparing for the final assault, William ordered the archers and crossbowmen forward again. This time the archers fired high, the arrows raining upon the Saxon rear ranks and causing heavy casualties. As the Norman infantry and cavalry closed yet again, Harold received a mortal wound. Traditionally he is believed to have been pierced through the right eye by an arrow (through interpretation of the Bayeux Tapestry). But The Carmen de Hastingae Proelio describes how Harold was cut to pieces by Norman knights led by William himself: and the Bayeux Tapestry shows him being cut down by a Norman knight, thus agreeing with The Carmen. It is possible that both versions of Harold's end are true: he was first wounded in the face by an arrow, then killed by hand weapons in the final Norman assault. Wace, in the Roman de Rou, notes that Harold was wounded in the eye, then tore out the shaft and continued to fight until cut down by a knight. Another theory was that Harold was struck in the right eye and tried to pull it out. He was later cut through the heart by a Norman knight, his head cut off, his guts strewn out, and his left leg cut off at the thigh. The most probable theory was that Harold was struck by the sword, then by the famous arrow to the eye.
The renewed Norman attack reached the top of the hill on the Saxon extreme left and right wings. The Normans then began to roll up the Saxon flanks along the ridgeline. The Saxon line began to waver, and the Norman men-at-arms forced their way in, breaking the shield wall at several points. Fyrdmen and housecarls, learning that their king was dead, began streaming away from the battle; the Normans overran the hilltop in pursuit. Harold's personal guard died fighting to the last as a circle of housecarls around the king's body and his battle standards (the Dragon standard of Wessex and the Fighting man, his personal standard).
In 1070 William I had Battle Abbey built in commemoration of the men who had died in the Battle of Hastings (the Pope commanded him to do this as a penance).
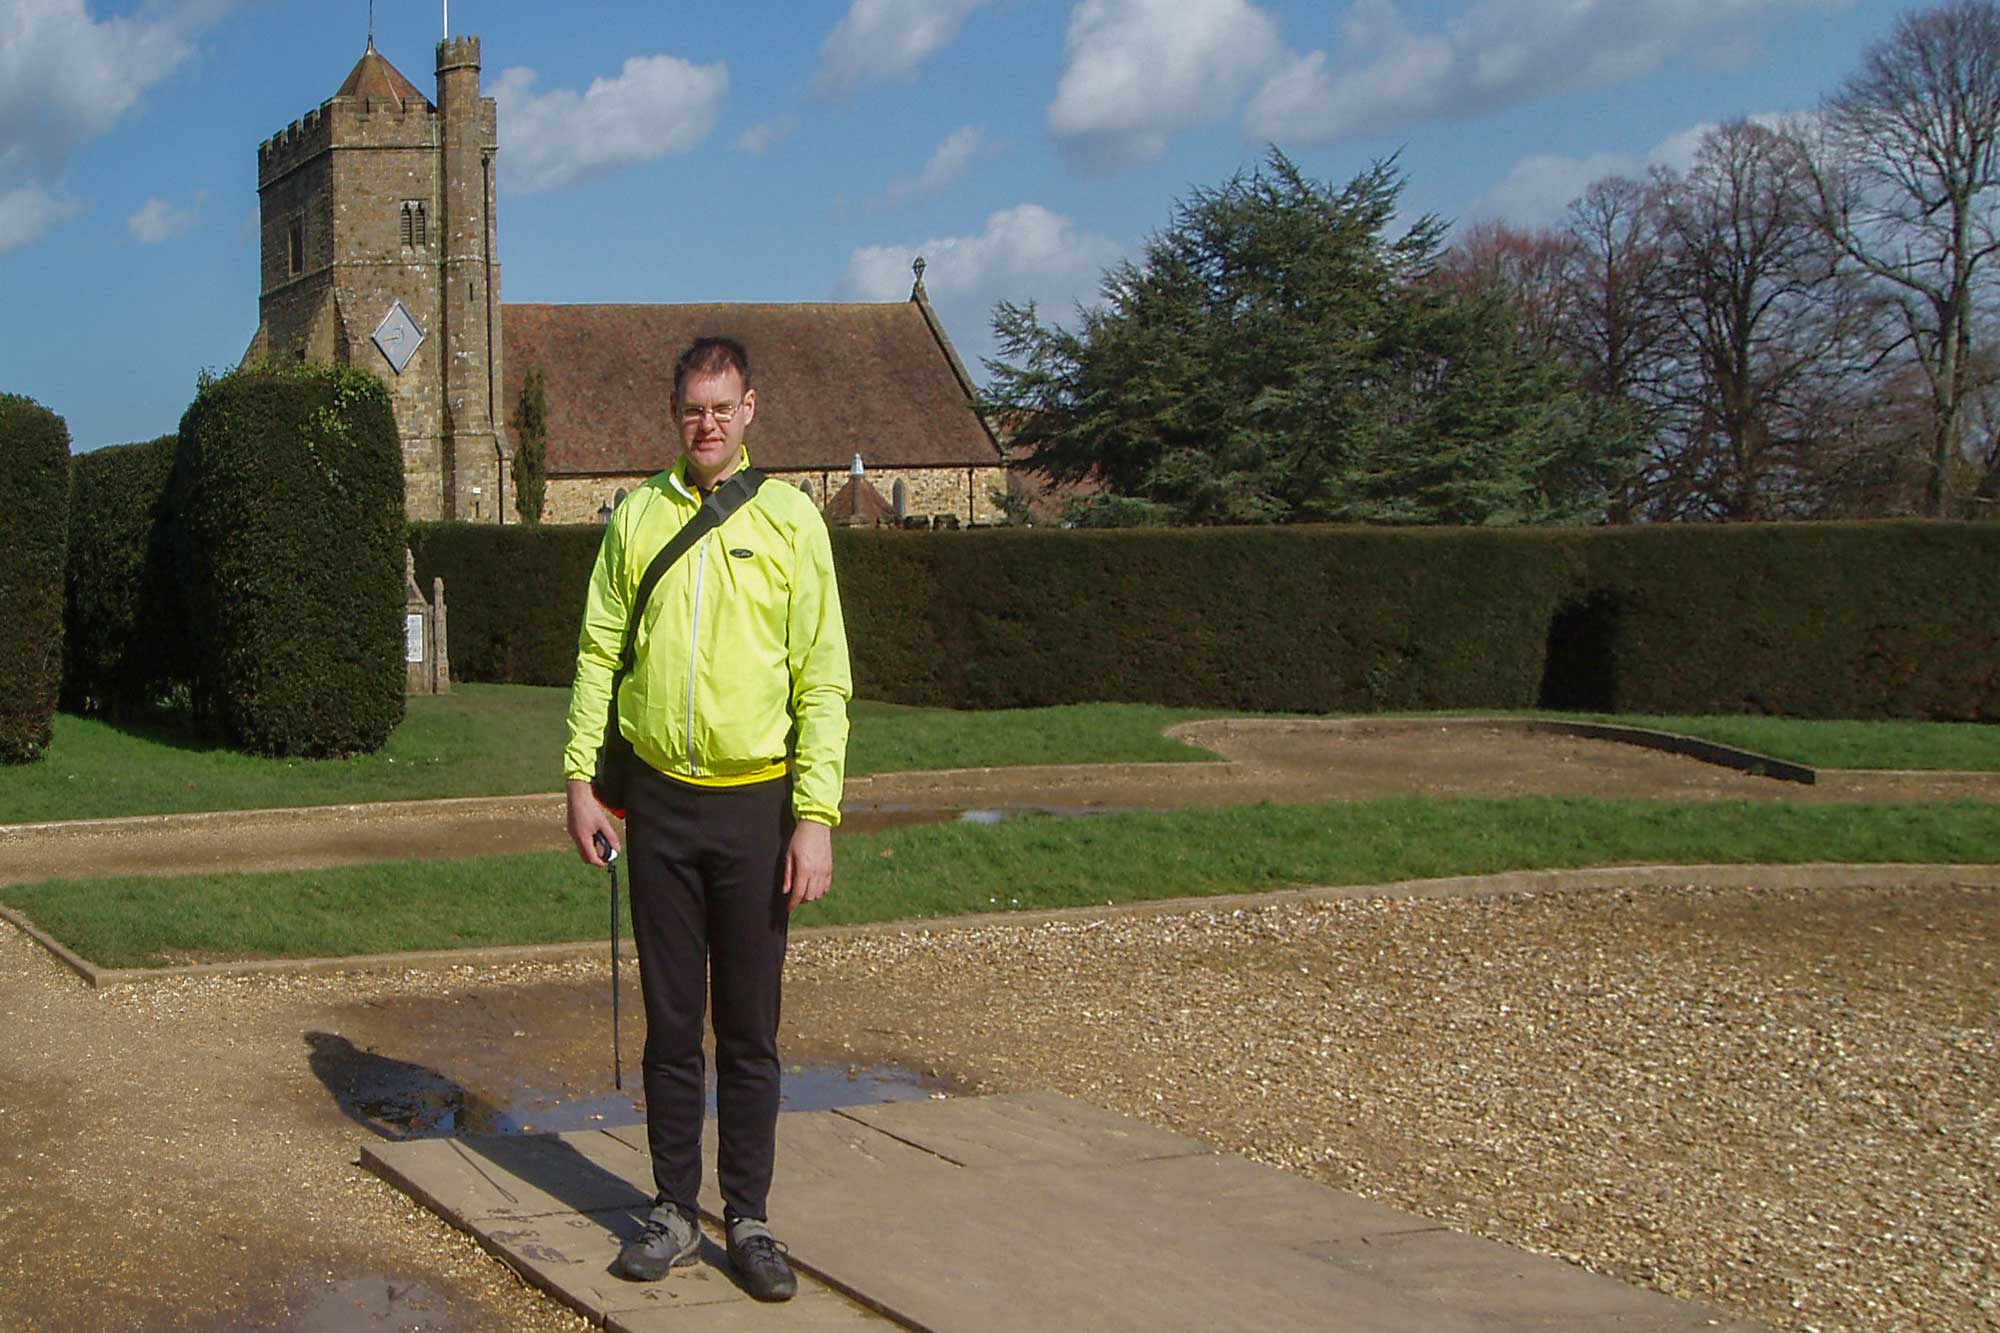
It stands at the top of the hill that was the site of the battle and there is a commemorative plaque there that supposedly marks the spot where Harold was struck down (and was where the original altar was positioned).
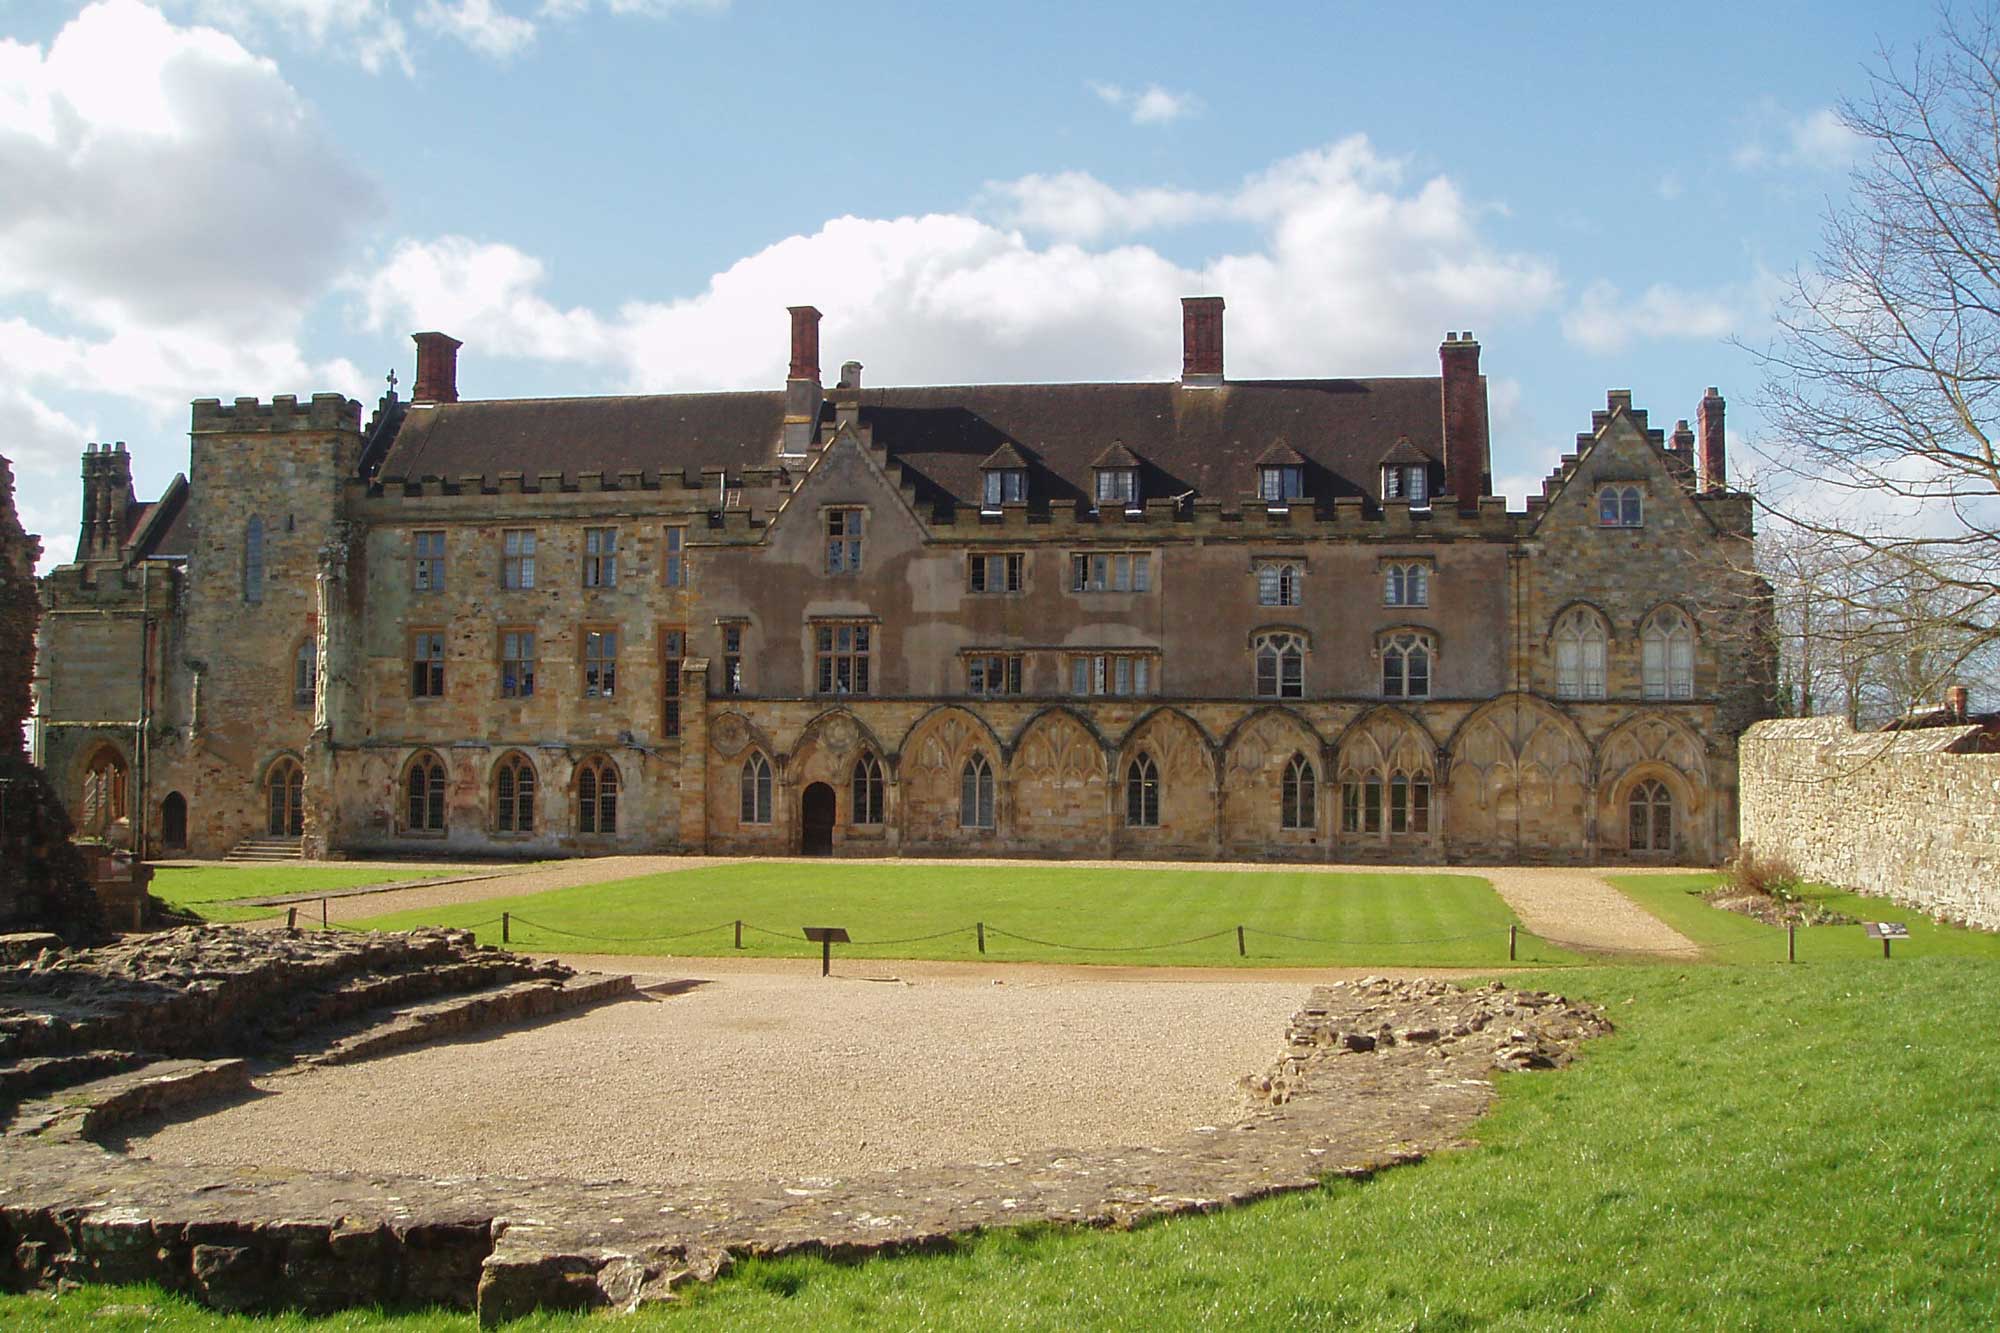
The Abbey Church was not finished until after William had died and been succeeded by his son William II and was virtually destroyed at the time of the dissolution under Henry VIII.
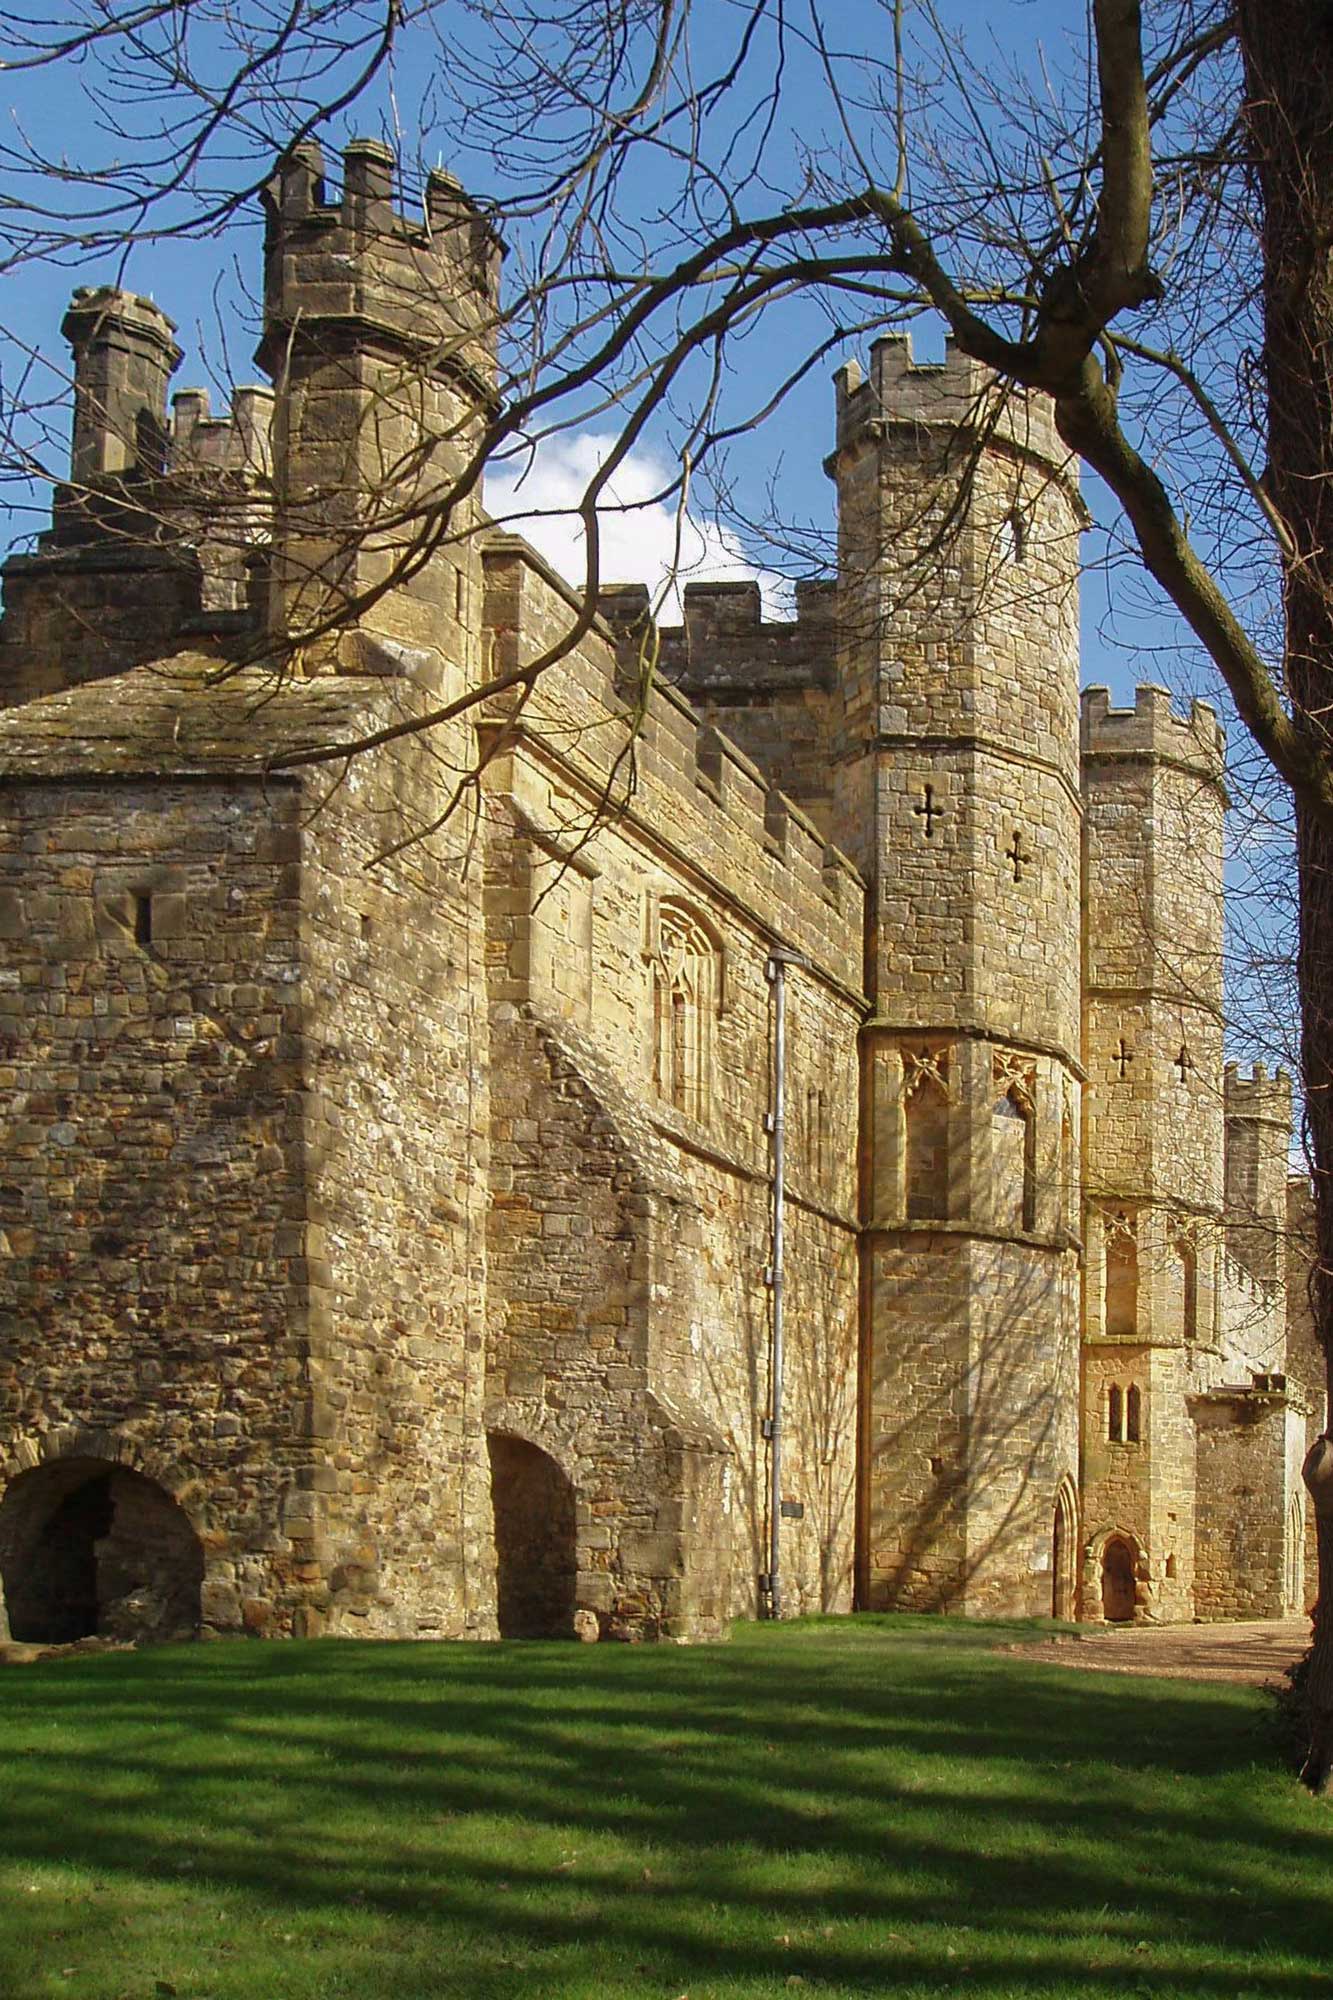
All that is left of the Abbey church itself today is its outline on the ground, but parts of some of the abbey's buildings are still standing: those built between the 13th and 16th century. These are still in use as the independent school known as Battle Abbey School.
Vistors to the abbey cannot usually go inside the abbey itself, although in the schools summer holidays, access to the Abbots Hall is allowed.
